
guide • Nail Care
Puppy Nail Trimming for First-Time Owners: A Weekly Starter Plan That Actually Works
A diagnostic-first weekly plan for puppy nail trimming: what to measure, what to do each session, and how to fix the most common setbacks safely.
By Lucy Anderson • February 21, 2026 • 7 min read
Table of contents
- Core problem and hidden bottlenecks
- Bottleneck 1: You’re trimming too infrequently
- Bottleneck 2: Your puppy is learning that nail time equals restraint
- Bottleneck 3: You’re using the wrong tool for your puppy’s temperament
- Reality check: what most owners misread
- “My puppy’s nails are black, so I can’t trim them safely.”
- “If they yelp, I definitely cut the quick.”
- “Grinding is always safer than clipping.”
- “We’ll do a big trim once a month.”
- Practical setup and baseline metrics
- Choose your tool based on your puppy’s profile
- Set up your “nail station” to reduce wriggling
- Baseline metrics: measure what matters
- Step-by-step operating workflow
- Step 1: Two-minute diagnostic (before you pick up a tool)
- Step 2: Condition the tool (30–60 seconds)
- Step 3: Positioning that prevents panic
- Step 4: The weekly trim plan (what you do each session)
- Week 1: “Touch and one nail” week
- Week 2: “Two paws” week
- Week 3: “All fronts + one back” week
- Week 4: “Maintenance loop”
- Step 5: How much to remove (safe thresholds)
- Step 6: Post-trim reinforcement (30 seconds)
- Decision table: when to keep, switch, or escalate
- Failure modes and fixes
- Failure mode: You nicked the quick
- Failure mode: Puppy fights only when the tool appears
- Failure mode: Grinder scares puppy (sound/vibration)
- Failure mode: Nails get jagged or split
- Failure mode: You can’t see what you’re doing
- Weekly optimization playbook
- Optimize frequency before you optimize tools
- Split sessions to protect your relationship
- Use “high leverage” nails
- Track one metric that tells the truth
- Tradeoffs to accept on purpose
- Final action checklist
Puppy nail trimming is rarely hard because of the nail. It’s hard because owners start without a baseline, trim too much too fast, and then spend weeks rebuilding trust.
This guide is built like a troubleshooting flow: measure first, trim second, and change your approach when specific thresholds show up (clicking on floors, sudden pulling, pink “quick” getting closer). You’ll leave with a simple weekly starter plan you can repeat.
Core problem and hidden bottlenecks
The core problem isn’t “How do I cut my puppy’s nails?” It’s “How do I do it weekly without creating a fight?”
Most first-time owners get stuck in one of these bottlenecks:
Bottleneck 1: You’re trimming too infrequently
If you wait until nails are long enough to click on hard floors, you’ve waited long enough for the quick (the blood supply inside the nail) to grow forward. That makes safe trimming harder and increases the chance of a painful cut.
Concrete threshold: If you can hear nails on tile/wood in a quiet room, you need weekly sessions (sometimes twice weekly for a short period) until the quick recedes.
Bottleneck 2: Your puppy is learning that nail time equals restraint
A puppy that’s held tightly while a loud tool touches their feet learns one thing: feet handling predicts stress. The “fight” you see is often a training problem, not a personality problem.
Concrete threshold: If your puppy starts pulling the paw away within 2 seconds of you touching a toe, your first goal is tolerance training—not taking off length.
Bottleneck 3: You’re using the wrong tool for your puppy’s temperament
There’s no universally “best” tool—there’s a best tool for your puppy’s combination of nail type, size, and sound sensitivity.
- •Clippers can be fast but can pinch if dull or if you take off too much at once.
- •Electric grinders can be gentler for gradual shaping, but the sound/vibration can spook some puppies.
- •Scratch boards let puppies “trim themselves,” which can be a lifesaver for fearful pups, but they usually focus on front nails and can leave jagged edges if overused.
Reality check: what most owners misread
Let’s correct the common misreads that lead to accidents or fear.
“My puppy’s nails are black, so I can’t trim them safely.”
You can—your strategy just changes. Instead of aiming for a certain length, you aim for small, controlled removal and check the cut surface each time.
Practical check: After a tiny trim, look at the center of the nail. If you see a chalky white/gray center, you’re still in safe keratin. If you start seeing a darker, moist-looking dot in the middle, you’re near the quick—stop that nail.
“If they yelp, I definitely cut the quick.”
Not always. Puppies can yelp from surprise, toe joint twisting, or restraint—especially if you pulled the paw outward.
Practical check: If there’s no bleeding and your puppy settles within 30–60 seconds with treats, it was likely a startle response. Still adjust: less restraint, smaller steps, better positioning.
“Grinding is always safer than clipping.”
Grinding can be safer for gradual work, but it also heats the nail if you grind too long in one spot.
Concrete threshold: If you’re grinding longer than 2–3 seconds continuously on one nail tip, you’re likely generating uncomfortable heat. Switch to brief touches.
“We’ll do a big trim once a month.”
That pattern is how owners create fear and push the quick forward.
A weekly plan works because it’s small enough to stay positive and frequent enough to gently encourage the quick to recede over time.
Practical setup and baseline metrics
Before you trim anything, set up two things: the environment and the metrics you’ll track. This turns nail care from a stressful guessing game into a repeatable routine.
Choose your tool based on your puppy’s profile
Pick the simplest tool your puppy will tolerate.
- •If your puppy hates buzzing sounds or gets “spicy” when restrained, start with a scratch approach: a board-style file like the Dog Nail File, Grinder Board Scratch Pad with 4-Pack Replaceable Sandpaper Discs. It’s quiet and lets you train a “scratch” behavior.
- •If your puppy tolerates sound and you want maximum control, a grinder can help you take off tiny amounts without sudden pressure. Two options owners often consider are the Electric Dog Nail Grinder: Upgraded 5-Speed Quiet Dog Nail Trimmer and the Dog Nail Grinder Electric Powerful 3 Speeds with Lights.
- •If you also have a cat at home and need a precise clipper for tiny nails, the NecoIchi - Purrcision Feline Nail Clippers are designed for controlled, clean cuts (different tool for different species—don’t force one tool to do everything).

Dog Nail File, Grinder Board Scratch Pad with 4-Pack Replaceable Sandpaper Discs, Gentle Pet Nail Care Tool for Dogs and Cats
Brand: PASDUCHAS

NecoIchi - Purrcision Feline Nail Clippers | Ultra-Sharp Cat Nail Clipper for Safe & Precise Trimming | Stainless Steel Blades, Cat Nail Trimmer, Ideal for Indoor Cats (White)
NecoIchi
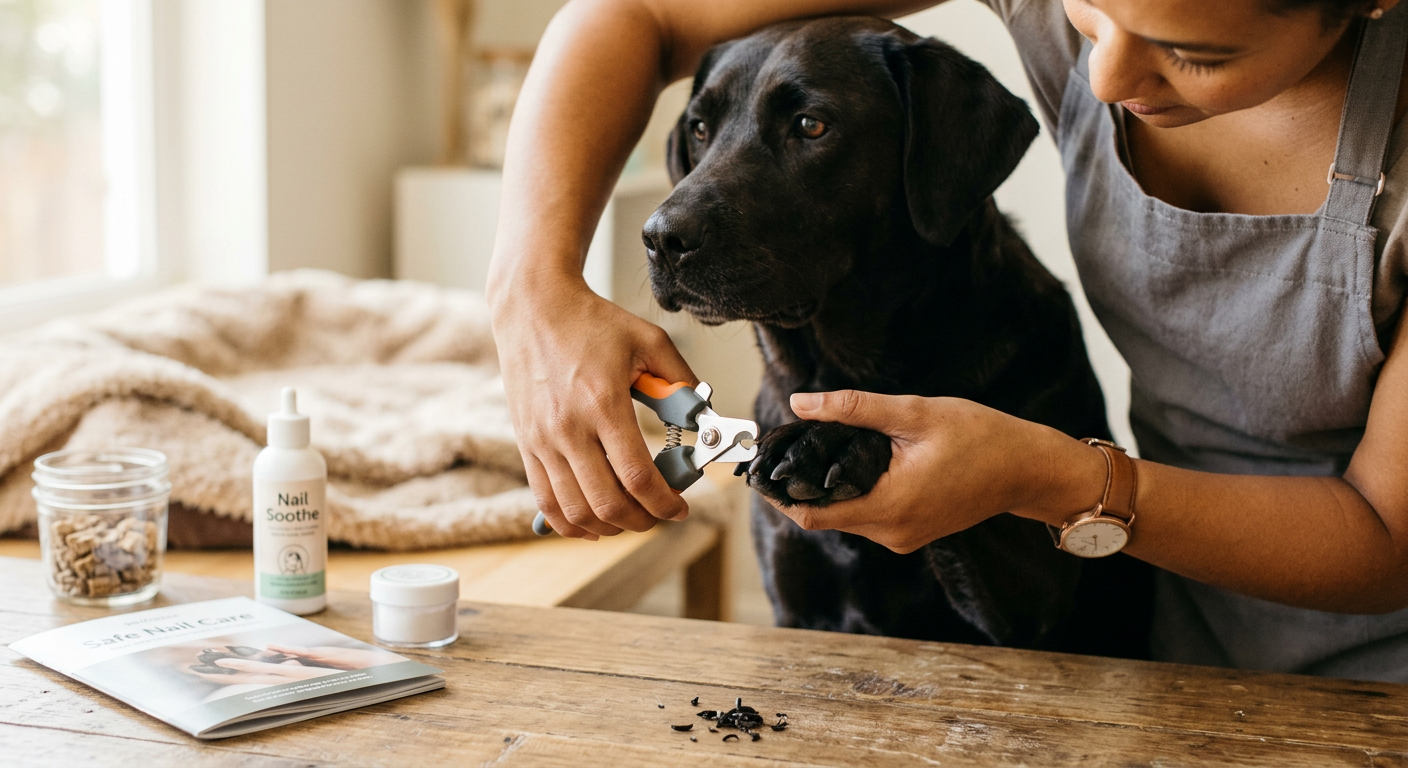
Set up your “nail station” to reduce wriggling
- •Pick a non-slip surface: a bath mat, yoga mat, or towel on a table.
- •Have high-value, pea-sized treats ready (soft treats work best because you can deliver quickly).
- •Keep sessions short enough that your puppy quits while still calm.
Baseline metrics: measure what matters
Track these weekly (notes app is fine):
- Floor clicking score (0–2):
- •0 = no clicking on hard floors
- •1 = occasional clicking at a trot
- •2 = frequent clicking even at a walk
- Handling tolerance (seconds): How long can you hold one paw gently before your puppy pulls?
- •Goal for beginners: 5–10 seconds of calm handling
- Nail edge feel: Run a finger along the tip.
- •Smooth = maintenance
- •Sharp hooks = you need shaping (grind or file)
- Session success rate: % of planned nails you touched (even if you didn’t trim). This keeps you honest—contact is progress.
Step-by-step operating workflow
This workflow is designed for weekly repetition. It’s deliberately conservative for first-time owners.
Step 1: Two-minute diagnostic (before you pick up a tool)
Check these three things:
- •Paw comfort: Does your puppy allow toe touch without pulling? If not, your “trim” today might be 60 seconds of toe-touch + treats.
- •Nail length clues: Are nails clicking? Are they curling sideways? Are they snagging on fabric?
- •Your puppy’s arousal: If they’re zoomy, do this after a short walk or play when they’re naturally calmer.
Step 2: Condition the tool (30–60 seconds)
You’re teaching: tool sound/touch predicts treats.
- •For grinders: turn it on for 1 second, treat, turn off. Repeat 5 times.
- •For scratch boards: lure one paw tap onto the board, treat, end.
If your puppy startles, back up: lower speed, increase distance, shorter exposure.
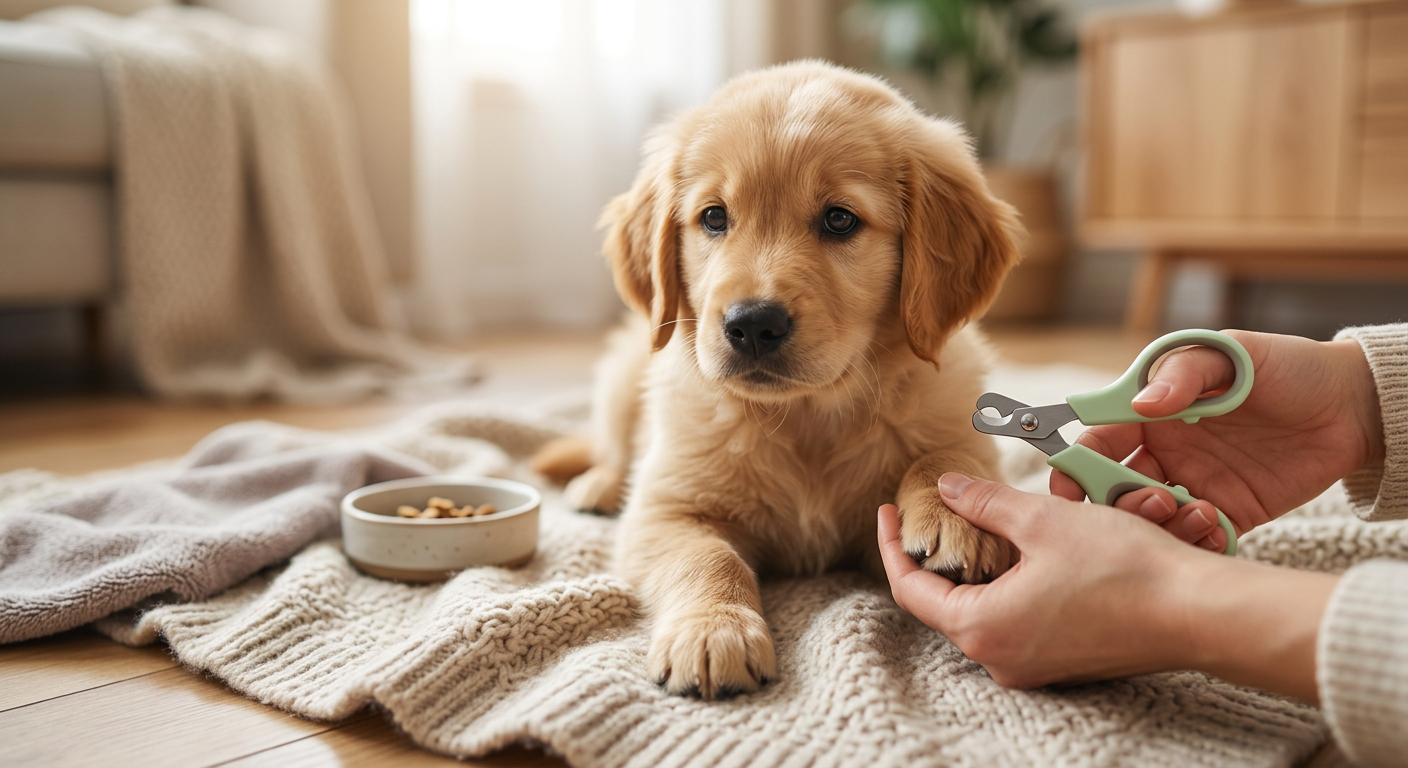
Step 3: Positioning that prevents panic
Avoid pulling the leg out to the side. Instead:
- •Sit beside your puppy, facing the same direction.
- •Support the paw from underneath.
- •Hold the toe steady with gentle pressure—think “steadying a pencil,” not “gripping a wrench.”
Concrete tip: Many puppies tolerate front paws better than back paws. Start with front paws for early wins.
Step 4: The weekly trim plan (what you do each session)
Your weekly plan depends on your baseline.
Week 1: “Touch and one nail” week
Goal: trust and routine.
- •Touch each paw briefly.
- •Trim or grind one nail only, then stop—even if you could do more.
This feels silly, but it prevents the classic mistake: doing too much, causing a struggle, and delaying the next session.
Week 2: “Two paws” week
Goal: expand success without restraint escalation.
- •Aim for 2–4 nails total.
- •If using a grinder, do 1–2 second touches per nail tip, then treat.
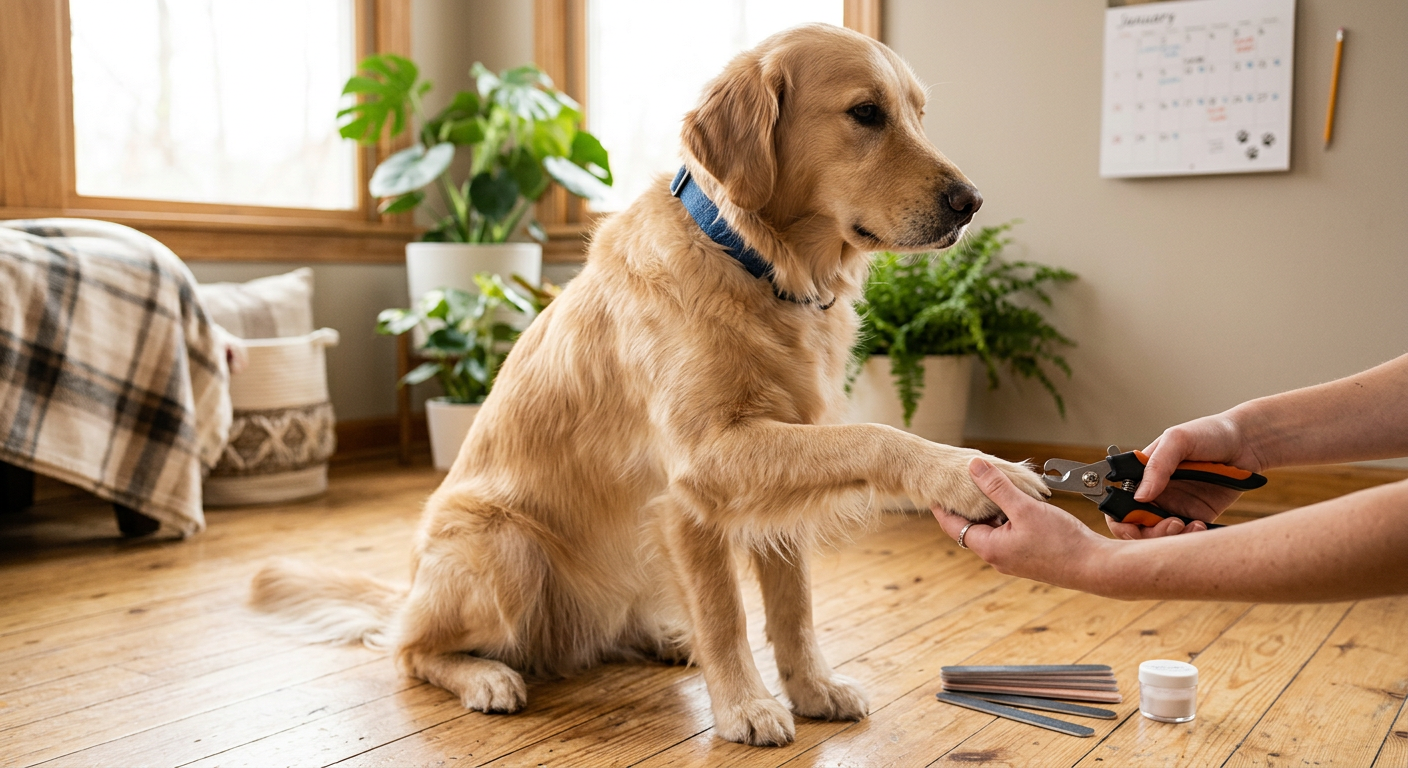
Week 3: “All fronts + one back” week
Goal: make progress where it matters most.
Front nails affect traction and scratch damage the most. Back nails often stay shorter naturally.
- •Front paws: shape/trim most nails.
- •Back paws: do one nail as a confidence builder.
Week 4: “Maintenance loop”
Goal: a full routine, but still short.
- •Aim for all nails, but stop early if tolerance drops.
- •If your puppy is still fearful, keep sessions split: front paws one day, back paws the next.
Step 5: How much to remove (safe thresholds)
For first-time owners, focus on micro-trims.
- •Clippers: take off a thin “slice” (1–2 mm). If black nails, go smaller.
- •Grinder: shape the tip gradually; don’t chase a perfect short nail in one session.
Stop rules for each nail:
- •You see a darker central dot or the nail surface looks moist.
- •Your puppy pulls repeatedly (3 pulls in a row) on that paw.
- •You feel yourself getting frustrated. End on a treat.
Step 6: Post-trim reinforcement (30 seconds)
After you put the tool away, give a mini jackpot: 3–5 treats or a short tug game. This is how weekly puppy nail trimming becomes “no big deal.”
Decision table: when to keep, switch, or escalate
Use this table as your weekly decision-making tool.
| What you observe | Likely cause | Keep current approach if… | Switch if… | Escalate to vet/groomer if… |
|---|---|---|---|---|
| Nails click on floors (score 2) | Too infrequent trims; quick advanced | Puppy tolerates handling 5+ sec | Puppy panics at tool; try scratch board like Grinder Board Scratch Pad | Nails are curling into pads or dog is limping |
| Puppy yanks paw instantly | Handling sensitivity; restraint | You can improve with toe-touch games | Switch to shorter sessions + grinder at low speed like Upgraded 5-Speed Quiet Grinder | Puppy screams, bites hard, or you can’t safely hold paws |
| Nails are sharp after trimming | Cut angle; no smoothing | You can add brief filing | Switch to grinder with light for better visibility like 3 Speeds with Lights | Repeated snagging causes torn nails |
| One nail bleeds easily every time | Quick very close; nail abnormal | You’re only taking micro-trims | Switch to grinder and stop sooner on that nail | Nail looks split, infected, or painful to touch |
| Puppy tolerates front paws, hates back paws | Balance/ticklishness | You split sessions | Switch to handling training + different position | Back paw seems painful or swollen |
Failure modes and fixes
Here are the common “this went sideways” moments and exactly what to do.
Failure mode: You nicked the quick
You’ll know because you see bleeding and your puppy may jerk away.
Fix:
- •Stay calm and keep your puppy from running (blood splatter creates chaos).
- •Apply steady pressure with gauze/paper towel for 60–90 seconds.
- •End the session. Don’t “make it worth it” by trimming more.
Diagnostic note: If you nick the quick more than once in a month, your trims are too large. Switch to micro-grinds or scratch training for a while.
Failure mode: Puppy fights only when the tool appears
That’s a conditioned response.
Fix: Do 3 days of “tool predicts treats” with no trimming.
- •Show tool 1 second -> treat -> hide tool.
- •Repeat 10 times.
- •On day 4, do one nail only.
Failure mode: Grinder scares puppy (sound/vibration)
Fix:
- •Use the lowest speed.
- •Start with the grinder turned on across the room.
- •Touch the handle to the puppy’s shoulder (not paw) for 1 second, treat.
- •Work toward paw contact later.
If sound sensitivity persists, lean into a scratch board approach like the Grinder Board Scratch Pad for front nails, then handle back nails with micro-clips.
Failure mode: Nails get jagged or split
Usually from dull clippers, too much pressure, or brittle nails.
Fix:
- •Add smoothing: 2–3 light grinder touches to round the edge.
- •Reduce removal per session.
- •If your puppy chews nails or you see cracks running upward, pause and have a pro assess.
Failure mode: You can’t see what you’re doing
Lighting and contrast matter more than people expect.
Fix:
- •Trim near a window in daylight.
- •Use a tool with built-in light if that helps your visibility (some owners prefer a grinder like 3 Speeds with Lights for this reason).
Weekly optimization playbook
Once you’ve done 2–4 weeks, you’ll start optimizing. This is where puppy nail trimming becomes easy.
Optimize frequency before you optimize tools
If your puppy’s nails click, you’re under-trimming. Increase frequency before you buy something new.
- •Mild clicking (score 1): once weekly.
- •Frequent clicking (score 2): twice weekly for 2–3 weeks, then drop back to weekly.
Split sessions to protect your relationship
Two 3-minute sessions beat one 10-minute wrestling match.
Example schedule:
- •Tuesday: front paws only
- •Friday: back paws only
- •Sunday: scratch board game for front nails + paw handling
Use “high leverage” nails
Not all nails contribute equally to the problem.
- •Focus on the longest front nails first.
- •Don’t obsess over getting every nail perfect in one session.
Track one metric that tells the truth
Use floor clicking score as your north star. If clicking disappears and paws look normal, you’re succeeding—even if nails aren’t “show-dog short.”
Tradeoffs to accept on purpose
- •Scratch boards are great for fear, but they won’t fully shape back nails.
- •Grinders are precise, but require sound conditioning.
- •Clippers are fast, but punish mistakes. If you’re anxious, your puppy will feel it.
Choose the tradeoff that keeps sessions calm and repeatable.
Final action checklist
- •Pick a weekly day and time when your puppy is naturally calmer (after walk/play)
- •Record baseline: floor clicking score, handling tolerance seconds, and which paws are hardest
- •Choose a tool your puppy can tolerate (scratch board, grinder, or clipper)
- •Run a 60-second “tool predicts treats” warm-up before every session
- •Do micro-trims or micro-grinds; stop each nail at the first sign you’re near the quick
- •End sessions early if tolerance drops; reinforce with a treat jackpot after you put the tool away
- •Re-check clicking score weekly; if it stays at 2, increase to twice-weekly sessions for 2–3 weeks
- •Escalate to a groomer/vet if nails curl into pads, a nail splits up the shaft, or you can’t trim safely
Nail Care Cluster
More in this topic

guide
How to Trim Dog Nails: A Step-by-Step Guide for Beginners

guide
Nail grinder vs clippers for dogs: which is best for your pet?

guide
Dog Nail Trimming at Home: Safe Step-by-Step Routine (Clippers vs Grinders vs Scratch Boards)
guide
Dog Nail Bleeding How to Stop: Fast First Aid That Works
guide
How to Trim Dark Dog Nails Without Hitting the Quick (Behavior-First Guide)
guide
How Often Should You Trim Dog Nails? A Practical Schedule by Activity Level
Frequently asked questions
How often should I do puppy nail trimming if the nails click on the floor?
If you hear frequent clicking on hard floors (tile/wood) even when your puppy is just walking, move to twice-weekly sessions for 2–3 weeks. Use micro-trims (1–2 mm) or brief grinder touches (1–2 seconds) to avoid hitting the quick. Once clicking drops to occasional or none, shift back to weekly maintenance.
What should I do if my puppy pulls away the second I touch their paws?
Treat it as a handling-tolerance problem first, not a trimming problem. For 3–7 days, do short toe-touch sessions: touch one toe for 1 second, give a treat, release. Build up to 5–10 seconds of calm paw holding before attempting more trimming. You can also reduce pressure by using a scratch board for front nails while you train tolerance for back paws.
Is a nail grinder better than clippers for first-time owners?
A grinder can be easier for beginners because you can remove tiny amounts gradually and round the nail edge, which reduces sharp snagging. The tradeoff is that some puppies dislike the sound/vibration, and grinding too long in one spot can create heat. Clippers are faster but less forgiving if you take off too much at once. If you’re nervous or your puppy has black nails, many owners find a grinder approach (with short, controlled touches) more manageable.
