
guide • Bath Time
Puppy First Bath Checklist: Safe Home Setup and Sequence (Behavior-First Guide)
A behavior-first puppy first bath checklist with low-stress setup, handling steps, product picks, and recovery tips if the first session goes sideways.
By Lucy Anderson • March 3, 2026 • 7 min read
Table of contents
- Pet behavior signals that shape the routine
- Green, yellow, and red signals (what to do with each)
- Why the first session matters (and what “success” actually is)
- Decision criteria: full bath vs spot clean
- Low-stress setup before any tool is used
- Location choice: tub, sink, shower, or laundry station
- Safety and comfort checklist (the “silent win” items)
- Tool staging: reduce “surprises” mid-bath
- Handling protocol for better compliance
- The 3 rules: support, predictability, and release
- Where to touch (and where to avoid at first)
- Consent-based micro-steps (real example)
- Tactical workflow by session phase
- Phase 1: Pre-bath rehearsal (2–5 minutes)
- Phase 2: Wetting (targeted, not chaotic)
- Phase 3: Shampoo application (less product, more contact)
- Phase 4: Rinsing (the phase that prevents itching)
- Phase 5: Drying (where fear can spike)
- Phase 6: Post-bath decompression (2–10 minutes)
- Product choices by temperament and tolerance
- For confident, wiggly puppies (low fear, high movement)
- For cautious, noise-sensitive puppies (higher fear, lower movement)
- For itchy, dry, or allergy-prone puppies (skin-first)
- Error recovery after a bad session
- What to do immediately (same day)
- The next 3 days: rebuild, don’t “push through”
- If your puppy panics with restraint
- When to get professional help
- Progress tracking template
- Bath tolerance log (copy/paste)
- How to score stress (1–5)
- Practical long-term maintenance plan
- Week 1–2: make the bath area boring (in a good way)
- Week 3–6: build a predictable routine
- Bath frequency guidance (with tradeoffs)
- Mini “in-between” cleaning that reduces full-bath need
- Your long-term goal: cooperative grooming
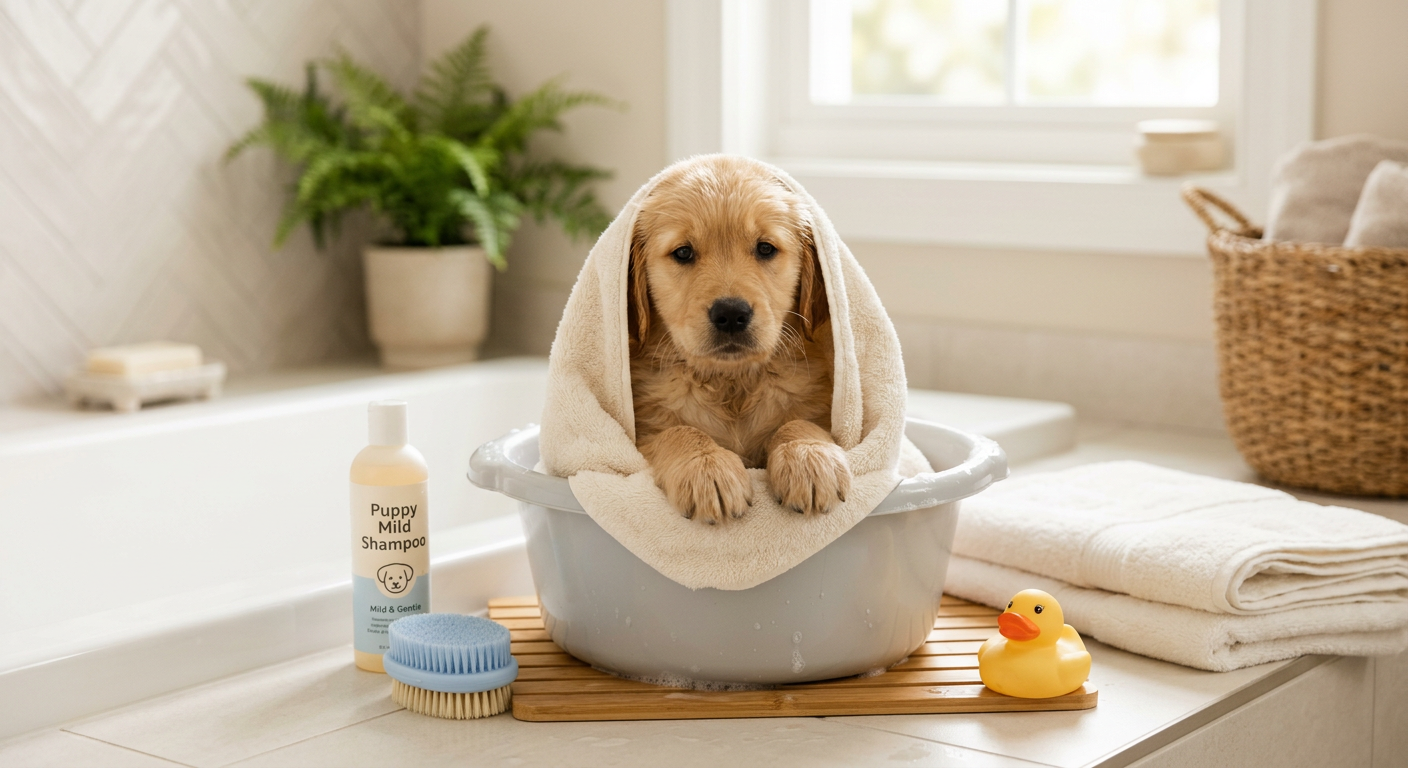
Bringing a puppy home often comes with one surprise: they can get dirty fast, and their first bath can set the tone for grooming for years. This puppy first bath checklist is built around behavior and tolerance—not “get it done fast.” The goal is a calm, repeatable routine your puppy learns to predict.
Pet behavior signals that shape the routine
Before you pick up a towel or turn on water, read your puppy. The right sequence depends on what their body language is telling you.
Green, yellow, and red signals (what to do with each)
- •Green (ready to learn): soft eyes, loose body, curious sniffing, taking treats, tail neutral or gently wagging. Plan: you can introduce more steps in one session (wet → shampoo → rinse → dry), but keep it short.
- •Yellow (uncertain): lip licks, whale eye (showing whites), leaning away, paw lift, freezing for a moment, sudden shedding, refusing treats. Plan: slow down, reduce intensity (lower water pressure, use a rinse cup, shorter session, more breaks).
- •Red (too much): hard freezing, growling, snapping, frantic scrambling, continuous shaking, trying to escape, panting when not hot. Plan: stop the bath workflow, switch to recovery (towel dry, calm reset), and next time start with a smaller “practice session” (no water).
Why the first session matters (and what “success” actually is)
For a puppy, success is not “sparkling clean.” Success is:
- •They stay under threshold (no panic).
- •They accept 1–2 new sensations (water sound, gentle restraint, towel rub).
- •They finish and can settle afterward.
If your puppy is 10–14 weeks and still adjusting to your home, it is completely reasonable to do a “partial bath” (paws + butt + belly wipe) and postpone a full soak. This is behavior-first sequencing: build trust, then build duration.
Decision criteria: full bath vs spot clean
Choose spot clean today if:
- •Your puppy is newly adopted and already stressed.
- •They had vaccines within the last 24 hours and seem tired.
- •They show yellow/red signals when entering the bathroom.
- •The mess is localized (muddy paws, food on chest).
Choose a full bath today if:
- •They rolled in something smelly/irritating.
- •They have widespread dirt and brushing won’t solve it.
- •They’re relaxed in handling exercises and will take treats.
Low-stress setup before any tool is used
A calm bath starts with a safe environment. You’re preventing slips, noise spikes, and “surprise sensations” that create fear.
Location choice: tub, sink, shower, or laundry station
- •Sink (small puppies): best for toy breeds and young pups because you can keep a hand on them and control water precisely. Tradeoff: less space to move, easier to feel trapped.
- •Tub: good for medium pups, but slippery and echo-y. Add traction and keep water shallow.
- •Walk-in shower: great for larger pups and for owners who need back-friendly access. Tradeoff: some puppies hate overhead spray.
- •Outdoor wash (weather permitting): can reduce echo and bathroom stress. Tradeoff: temperature control is harder.
Safety and comfort checklist (the “silent win” items)
- •Traction: put a rubber mat, folded towel, or yoga mat down. Slipping is a top reason puppies panic.
- •Warmth: pre-warm the room if possible; have two towels ready (one for blotting, one for final dry).
- •Water temperature: aim for lukewarm (think baby-bath warm). Too warm can increase stress; too cold triggers shivering and avoidance.
- •Sound management: run water before bringing your puppy in if the noise startles them, then turn it down. Many puppies fear the sudden “blast.”
- •Treat station: high-value, pea-sized treats within reach (chicken, freeze-dried liver). If your puppy won’t eat in the bath area, that’s data: reduce intensity.
Tool staging: reduce “surprises” mid-bath
Set everything where you can grab it with one hand:
- •Shampoo
- •Rinse tool (cup or sprayer)
- •Towel(s)
- •Brush/comb (if coat allows)
- •Cotton balls (optional for ears, not inserted)
For controlled rinsing (especially for face/chest), a rinse cup can be gentler than a sprayer. The Dog Bath Rinse Cup is the kind of simple tool that helps you keep water away from eyes and nose while still rinsing thoroughly.

Handling protocol for better compliance
Your hands are the “equipment” your puppy feels most. The way you hold, support, and release determines whether they fight or cooperate.
The 3 rules: support, predictability, and release
- Support the body, not just restrain it. One hand under the chest or belly can help a puppy feel stable.
- Predict every change. Use a short cue like “water,” “soap,” “rinse,” “towel.” Puppies learn patterns fast.
- Release strategically. Short releases (a pause, a sniff break, a treat) teach that calm behavior makes the weird thing stop.
Where to touch (and where to avoid at first)
Start with areas most puppies tolerate:
- •Shoulders and upper back
- •Chest (if they accept it)
- •Sides
Go slow on:
- •Paws and between toes
- •Tail and sanitary area
- •Face, ears, and neck
Face washing tip: don’t aim water at the face. Use a damp cloth and a tiny amount of diluted shampoo if needed, then wipe clean.
Consent-based micro-steps (real example)
If your puppy flinches when you touch paws:
- •Step 1: touch shoulder → treat
- •Step 2: touch leg → treat
- •Step 3: touch paw briefly → treat
- •Step 4: hold paw 1 second → treat
This can happen days before a full bath. It’s still progress—and it makes the first real bath dramatically easier.
Tactical workflow by session phase
This is the sequence that keeps arousal low and rinse quality high. Think “short, predictable, repeatable.”
Phase 1: Pre-bath rehearsal (2–5 minutes)
Do this even if you’re going to bathe right away.
- •Bring puppy into the room, feed a treat, leave. Repeat once.
- •Put them on the mat (no water), touch shoulders, treat.
- •Turn on water briefly at low pressure, treat, turn off.
If your puppy startles at water noise, extend this phase and postpone wetting. You’re teaching: bathroom sounds predict good things.
Phase 2: Wetting (targeted, not chaotic)
Goal: wet efficiently without surprise splashes.
- •Start at the shoulders/back, not the head.
- •Use low pressure and keep the nozzle/cup close to the coat to reduce splash.
- •For thick or double coats, you may need longer wetting to reach skin.
If you’re using a shower attachment, choose one with controlled spray options rather than a harsh stream. The SR SUN RISE Dog Shower Attachment for Thick Haired Dogs is useful specifically because you can switch modes and keep pressure puppy-friendly while still penetrating a dense coat.

Tradeoff: sprayers speed up rinsing (less time in tub), but the sound/vibration can scare noise-sensitive pups. If your puppy leans away when you bring the sprayer near, switch to a rinse cup for that session.
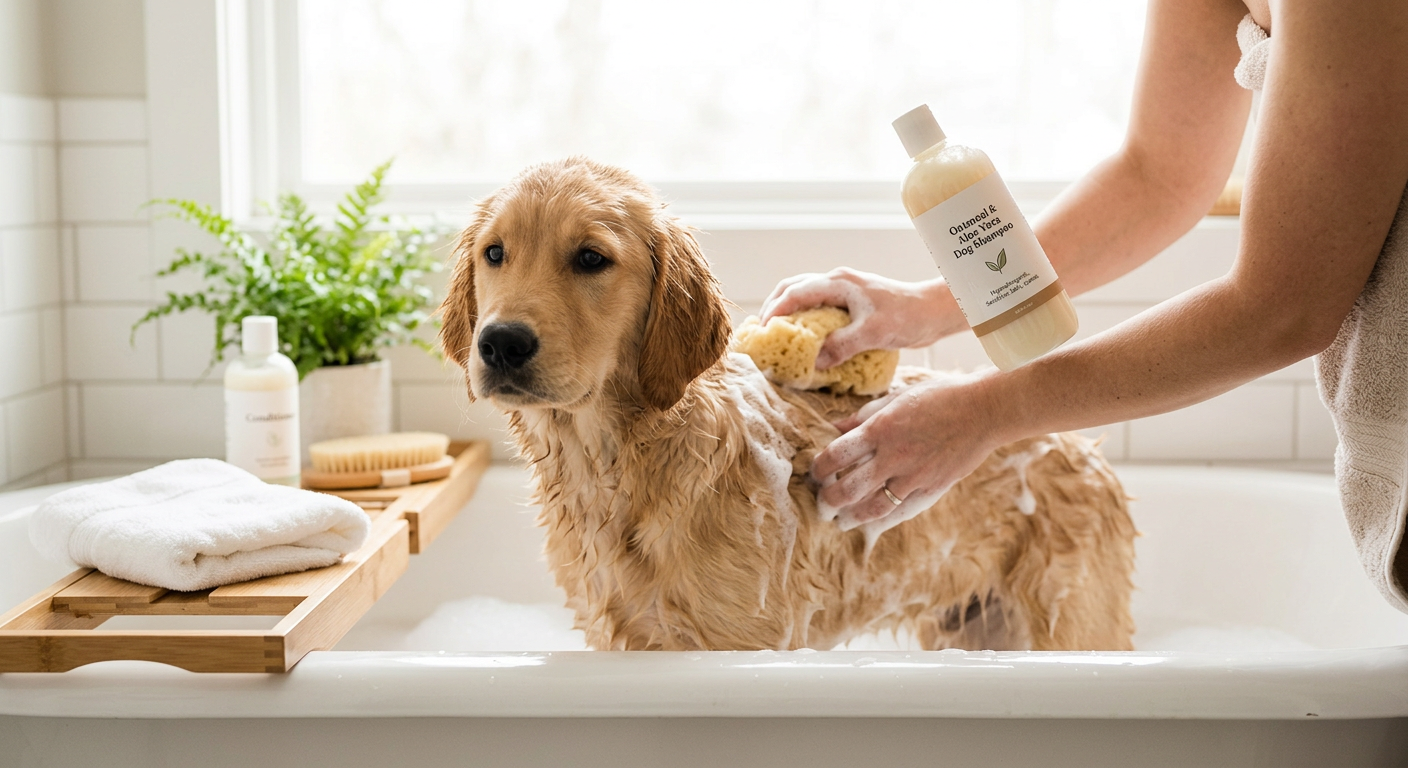
Phase 3: Shampoo application (less product, more contact)
Goal: clean without overwhelming skin or scent.
- •Use a small amount of shampoo and add water to your hands to spread it.
- •Lather by massaging in the direction of hair growth.
- •Avoid eyes/inside ears.
If your puppy has sensitive skin or you want a gentle, conditioning option, the Lillian Ruff PRO Formula Deodorizing Oatmeal Dog Shampoo & Conditioner Set is the type of oatmeal/aloe formula many owners reach for when puppies get dry or itchy from frequent washing.

Lillian Ruff PRO Formula Deodorizing Oatmeal Dog Shampoo & Conditioner Set - Calm Itching & Allergies, Ultra-Nourishing Dry Skin Relief - Oatmeal, Aloe, Coconut Oil, Lavender & Provitamin B5, USA Made
Lillian Ruff Lillian Ruff

Lillian Ruff PRO Formula Berry Blue Brightening Pet Shampoo - Ultra-Hydrating Professional Whitening Dog Shampoo, Vivid Show-Quality Coat Enhancer, Tear Stain & Odor Eliminator, Vitamin B5, 128oz+Pump
Lillian Ruff Lillian Ruff
Decision point: shampoo contact time
- •Calm puppy: 30–60 seconds is usually enough for light dirt.
- •Smelly mess: you may need 2–3 minutes, but only if your puppy stays relaxed and the product directions allow it.
Phase 4: Rinsing (the phase that prevents itching)
Goal: rinse until the coat feels “squeaky clean,” not slippery.
- •Rinse in sections: back → sides → chest/belly → legs → tail.
- •Use a cup to control where water flows, especially near neck and face.
- •Run your fingers through the coat while rinsing; trapped suds cause itchiness and post-bath zoomies that look like “bad behavior.”
Shortcut that helps wiggly puppies: foam first, then rinse faster. A foaming dispenser can spread diluted shampoo evenly with fewer passes. The Dog Foaming Soap Dispenser can reduce the time you spend scrubbing (which some puppies hate), but it adds motor noise—great for confident pups, not always ideal for sound-sensitive ones.

Phase 5: Drying (where fear can spike)
Goal: get dry enough to prevent chill, while keeping handling positive.
- •Blot, don’t rub for the first towel pass (rubbing can tangle and can feel rough).
- •Switch to gentle rubbing only when your puppy is calmer.
- •If using a dryer, introduce it like a separate training plan: far away, low setting, treats.
Real-world scenario:
- •Tiny puppy shivering after rinse: wrap them in a warm towel “burrito,” hold for 30–60 seconds, and let them settle on your lap before continuing.
- •Large puppy trying to bolt during towel: step on the towel edge lightly (not on the puppy) to reduce escape routes, and keep one hand on chest for stability.
Phase 6: Post-bath decompression (2–10 minutes)
This is part of the bath training, not an extra.
- •Offer water.
- •Give a chew or lick mat in a warm room.
- •Keep play calm for 10–15 minutes; high arousal right after can cement frantic associations.
Product choices by temperament and tolerance
Pick tools based on what your puppy can emotionally handle today—not what’s “best” in a vacuum.
For confident, wiggly puppies (low fear, high movement)
- •Prioritize speed and control to reduce total bath time.
- •Consider a multi-mode sprayer like the SR SUN RISE Dog Shower Attachment for Thick Haired Dogs to rinse quickly.
- •A foamer like the Dog Foaming Soap Dispenser can shorten the “scrub” phase.
Tradeoff: faster tools can be louder. If your puppy stays playful but startles at sound, use the tool while it’s pointed away first, then bring it closer.
For cautious, noise-sensitive puppies (higher fear, lower movement)
- •Skip powered tools at first.
- •Use a quiet rinse method like the Dog Bath Rinse Cup.
- •Keep the bath shorter and consider “two-stage baths”: wet + quick rinse today, shampoo next session.
For itchy, dry, or allergy-prone puppies (skin-first)
- •Use lukewarm water and avoid over-bathing.
- •Choose a soothing shampoo/conditioner combo like the Lillian Ruff PRO Formula Deodorizing Oatmeal Dog Shampoo & Conditioner Set if your vet agrees.
- •Rinse extra thoroughly; leftover product is a common itch trigger.
Important: if your puppy has persistent redness, hives, hot spots, or intense itching after bathing, involve your veterinarian before trying multiple shampoos.
Error recovery after a bad session
A “bad bath” doesn’t ruin your puppy—what matters is what happens next.
What to do immediately (same day)
- •End the session calmly. Don’t chase a soaked puppy around the house.
- •Towel dry enough to prevent chill, then move to a quiet room.
- •Offer something soothing (lick mat, chew) and let them nap.
The next 3 days: rebuild, don’t “push through”
Do tiny reps that look unrelated to bathing but rebuild confidence:
- •Walk into bathroom → treat → leave.
- •Stand on the bath mat → treat → leave.
- •Touch shoulders and chest in the bath area → treat.
- •Turn on water for 1 second from across the room → treat.
If your puppy panics with restraint
Common trigger: being held tightly while slipping.
- •Fix footing first (better mat).
- •Use minimal restraint: one hand steadying the chest, not pinning.
- •Shorten the plan: you can do rinse-only practice sessions.
When to get professional help
If you see repeated red signals (snapping, panic, intense escape attempts), ask a certified trainer who uses force-free methods to create a grooming desensitization plan. It’s faster (and safer) than repeatedly “trying again” and making the fear bigger.
Progress tracking template
Consistency improves tolerance. Use this simple log after each session (even practice sessions).
Bath tolerance log (copy/paste)
| Date | Session type (practice/spot/full) | What we did (steps) | Stress level (1-5) | Treats taken? (Y/N) | Biggest trigger | What helped | Next time plan |
|---|
How to score stress (1–5)
- •1: relaxed, curious, normal breathing
- •2: mild uncertainty, still eating treats
- •3: frequent avoidance, treats inconsistent
- •4: freezing/panting, won’t take treats
- •5: panic/escape, vocalizing, snapping
Rule of thumb: if your puppy hits a 4–5, your next session should be practice-only with easier steps.
Practical long-term maintenance plan
The easiest puppy first bath is the one you don’t have to do often—because you maintain the coat and teach cooperative care.
Week 1–2: make the bath area boring (in a good way)
- •3–5 times/week: step on mat → treat → leave (30 seconds).
- •2–3 times/week: water sound at low level → treat.
- •2 times/week: gentle handling drills (paws, tail, ears) outside the bath.
Week 3–6: build a predictable routine
- •Do short, planned baths when needed, not only when the puppy is filthy.
- •Keep the same sequence words (“water,” “soap,” “rinse,” “towel”).
- •Introduce one new element at a time (first sprayer sound, later sprayer touch, later faster rinse).
Bath frequency guidance (with tradeoffs)
- •Most puppies: every 3–6 weeks is typical, plus spot cleans.
- •Frequent outdoor mud adventures: you may bathe more often, but use gentle products and rinse thoroughly.
- •Dry skin/itchy pups: less frequent full baths; prioritize brushing and paw wipes.
Over-bathing can dry the skin; under-bathing can trap allergens and odor. Let your puppy’s coat, lifestyle, and skin response guide the schedule.
Mini “in-between” cleaning that reduces full-bath need
- •Paws: rinse cup pour-over, towel blot
- •Belly/chest: damp cloth wipe after walks
- •Rear: quick warm-water rinse, then towel
Your long-term goal: cooperative grooming
Aim for a puppy who:
- •Walks into the bath area willingly
- •Stands on a mat for 10–30 seconds at a time
- •Accepts brief paw holds
- •Tolerates water on shoulders and back
That foundation makes every future bath, nail trim, and vet visit easier. A clean puppy is nice—but a puppy who trusts the process is the real win.
Bath Time Cluster
More in this topic

guide
How Often to Bathe a Dog? Vet-Approved Schedule by Coat Type
guide
Oatmeal Dog Shampoo Benefits: Soothe Itchy Skin Safely
guide
How to bathe a cat: tips for a stress-free experience
guide
How Often Should You Bathe a Dog or Cat? Practical Schedule by Coat Type (Behavior-First Guide)
guide
Sensitive Skin Bath Routine for Dogs: Lower Irritation, Better Recovery
guide
Double-Coat Bath and Drying Routine: Prevent Undercoat Issues Without Stress
Frequently asked questions
When can I give my puppy their first bath at home?
Most puppies can handle a gentle bath once they are settled in and healthy, but timing depends on stress level and medical guidance. If your puppy is newly adopted, very fearful, or recovering from vaccines/illness, start with practice sessions or spot cleaning first. If there is a skin issue, strong odor from something questionable, or persistent itching, check with your veterinarian before choosing products or increasing bath frequency.
What if my puppy hates water and tries to escape the tub?
Prioritize footing and predictability. Add a non-slip mat or towel, keep water shallow, and start with water only on the shoulders/back using low pressure. If the sprayer noise is the trigger, switch to a rinse cup for that session and do short practice reps on non-bath days (bathroom entry, mat stand, water sound at distance). If your puppy reaches panic (freezing, frantic scrambling, snapping), end the session and rebuild with smaller steps rather than forcing a full bath.
How do I avoid itchy skin after a puppy bath?
Itchiness is often from leftover shampoo, water that is too hot, or bathing too frequently. Use a small amount of puppy-safe shampoo, lather briefly, and rinse longer than you think you need—especially in armpits, belly, and thick coat areas. Choose a gentle formula (oatmeal/aloe options can help some pups) and monitor the skin for redness or bumps. If itching persists or you see hives, hot spots, or intense scratching, stop experimenting with products and contact your veterinarian.
