
guide • Coat Care
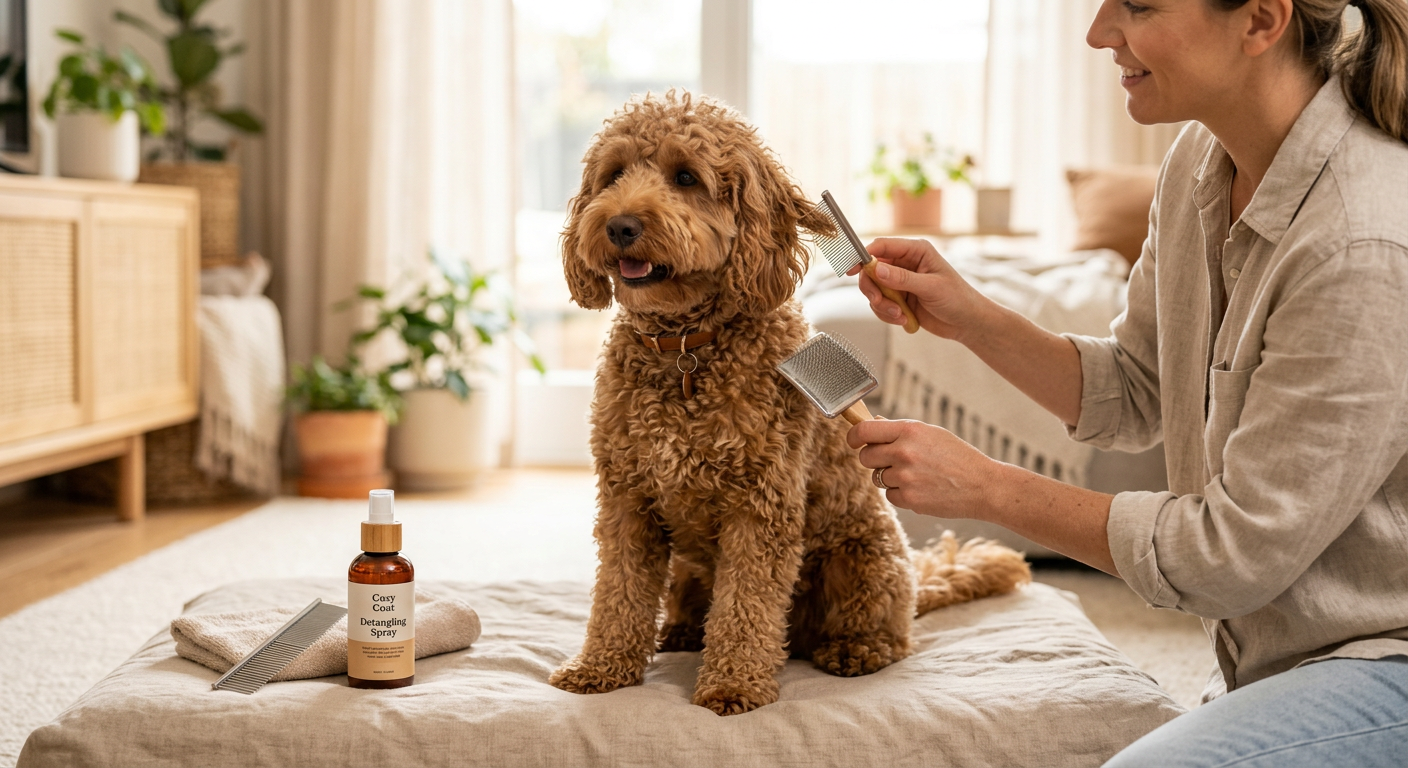
Curly Coat Detangling Routine: Prevent Mats Without Over-Brushing
A scenario-led curly coat detangling routine that prevents mats with fewer brush strokes—tailored for apartments, busy homes, and multi-pet chaos.
By Lucy Anderson • February 28, 2026 • 7 min read
Table of contents
- Scenario map: apartment, family home, multi-pet
- Scenario A: Apartment life (small space, frequent quick walks)
- Scenario B: Family home (kids, backyard, inconsistent schedule)
- Scenario C: Multi-pet home (wrestling, shared bedding, cross-shedding)
- Constraints and risk profile per scenario
- The three mat accelerators (what actually causes “sudden” mats)
- Scenario constraints you need to design around
- Your pet’s “risk zones” (check these first every time)
- Tailored workflow by scenario
- Apartment workflow: “Micro-sessions + friction control”
- Step 1: The 30-second touch scan (daily)
- Step 2: Isolate and detangle in layers (2–3 minutes)
- Step 3: Reduce friction at the source (the mat-prevention multiplier)
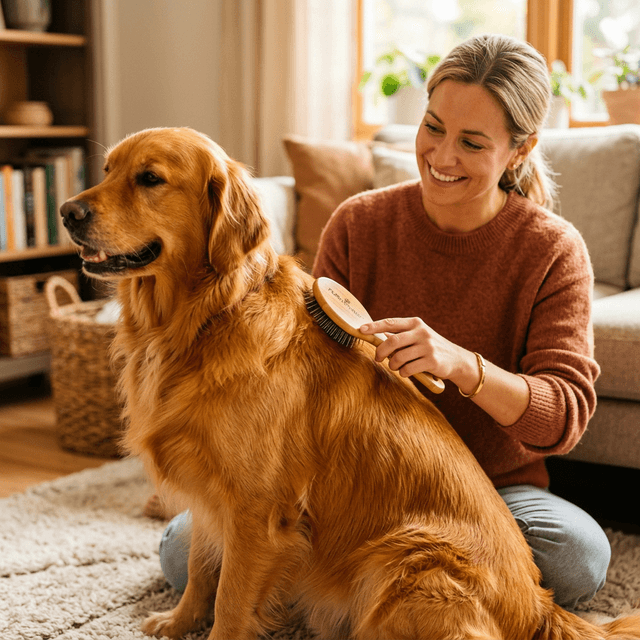
- Family home workflow: “Two-phase routine + kid-proof rules”
- Phase 1: Weekday survival (3–6 minutes, 3x/week)
- Phase 2: Weekly deep detangle (15–25 minutes, 1x/week)
- Multi-pet workflow: “Isolation + shed management + scheduling”
- Step 1: Separate grooming zones
- Step 2: Combine detangling with shed control
- Step 3: Post-play “hotspot check” (2 minutes)
- Product picks matched to workload
- Light workload (mostly maintenance tangles)
- Medium workload (recurring knots, harness friction, seasonal coat changes)
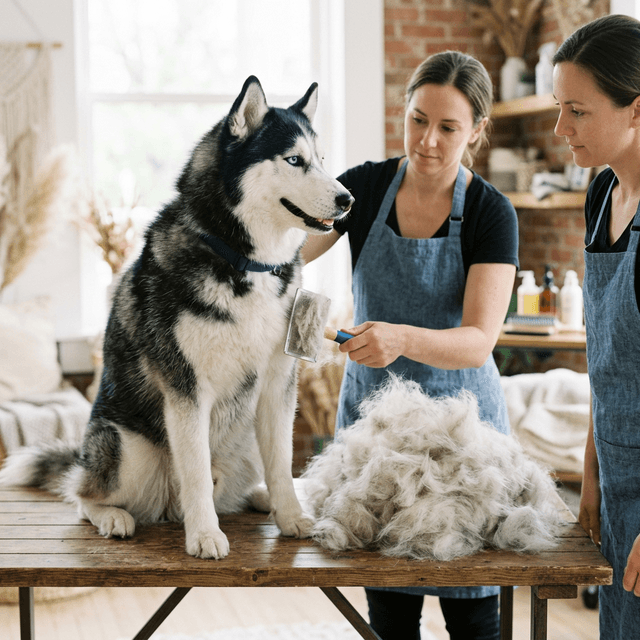
- Heavy workload (mats forming, double-coated dogs, thick undercoat)
- Time-saving tactics under pressure
- The “2-minute rule” that prevents mat spirals
- Detangle smarter: stop when the job is done
- Pair grooming with a predictable moment
- Use micro-rewards strategically
- What breaks in real life and how to adapt
- Break #1: “My pet suddenly hates brushing”
- Break #2: “I missed a week and now there are mats”
- Break #3: “The coat keeps matting in the same place”
- Break #4: “Multi-pet chaos makes grooming impossible”
- Weekly review framework
- 1) Score the week (30 seconds)
- 2) Track “repeat offender” zones
- 3) Decide next week’s workload level
- 4) Validate with a hands-on test
- Final execution checklist
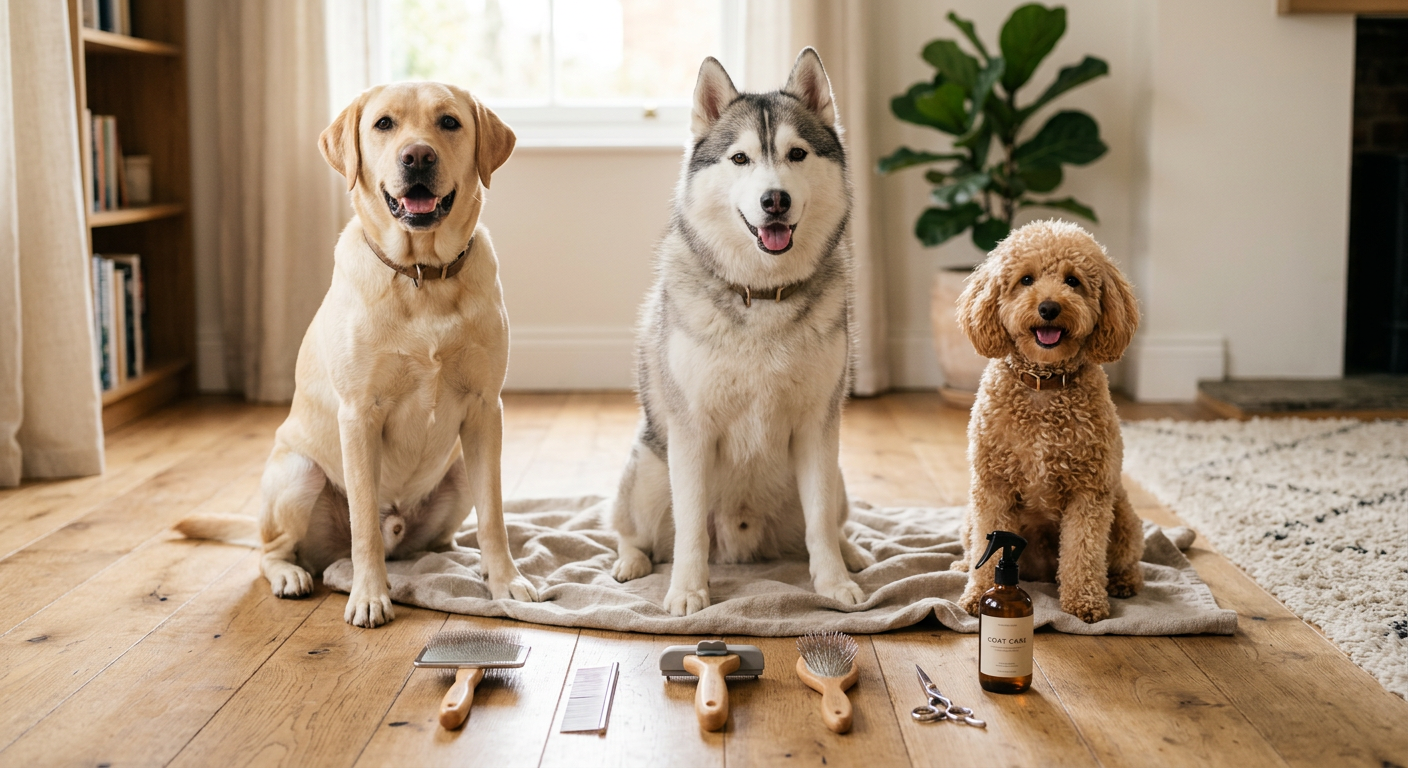
Curly coats are beautiful—but they behave differently than straight coats. The curl pattern traps shed hair, holds onto friction (harness straps, collars, couch fabric), and can turn a small tangle into a tight mat fast. The goal of a smart curly coat detangling routine is not “brush more.” It’s: detangle with intention, reduce the forces that create mats, and pick tools that match your real life.
Below is a scenario-led guide that helps you prevent mats without over-brushing—because too much brushing can cause breakage, irritation, and a pet who learns to hate grooming.
Scenario map: apartment, family home, multi-pet
Think in scenarios, not ideals. Your detangling routine should fit the space you live in, the time you actually have, and your pet’s coat “mat risk zones.”
Scenario A: Apartment life (small space, frequent quick walks)
You likely have:
- •A small grooming area (bathroom or entryway)
- •More harness/collar time (quick potty breaks, city walks)
- •More contact with furniture and blankets
- •A pet who picks up static and friction tangles, especially behind ears and under the collar
Common curly-coat pain point: You notice knots only when they’re already compact—because curls hide them.
Scenario B: Family home (kids, backyard, inconsistent schedule)
You likely have:
- •On-and-off grooming (weekends are big, weekdays are chaotic)
- •Outdoor debris (burrs, leaves) and more moisture (sprinklers, puddles)
- •Higher chance someone “helpfully” brushes the topcoat only
Common pain point: The coat looks fine on the surface, but the underlayer is tightening into mats near the skin.
Scenario C: Multi-pet home (wrestling, shared bedding, cross-shedding)
You likely have:
- •More coat contamination: saliva, dander, shed fur from other pets
- •Frequent physical contact that twists curls together
- •More grooming resistance (one pet triggers another)
Common pain point: Mats form in high-friction areas from play—neck, shoulders, armpits, rump—then escalate quickly because you’re always handling multiple animals.
Constraints and risk profile per scenario
Curly coat detangling is about managing risk. Here’s what changes the risk profile and how it shows up in each scenario.
The three mat accelerators (what actually causes “sudden” mats)
- Friction loops: harness straps, collars, rough fabrics, repeated rubbing behind ears.
- Moisture + compression: damp coat air-drying while curled and pressed (sleeping, crates, kids cuddling).
- Shed-hair trapping: loose hair stays in the curl, then knots around itself like Velcro.
Scenario constraints you need to design around
- •Apartment: limited space + frequent gear use = high friction, moderate moisture risk (rain), low debris risk.
- •Family home: inconsistent schedule + outdoor mess = high moisture + debris, high compression (nap piles), moderate friction.
- •Multi-pet: high shed-hair load + play friction + shared bedding = very high trapping + friction, moderate moisture.
Your pet’s “risk zones” (check these first every time)
Regardless of scenario, curly-coated pets mat in similar places:
- •Behind ears (especially if they shake their head a lot)
- •Under collar/harness points
- •Armpits and inner elbows
- •Groin and inner thighs
- •Base of tail and “pants” area
- •Chin/neck (from drool or wet food)
If your pet has a double coat with wave/curl, add: hips, shoulders, and along the spine where undercoat compacts.
Tailored workflow by scenario
A good curly coat detangling routine is built like a small system: check → isolate → detangle → reset. The workflow changes depending on your home reality.
Apartment workflow: “Micro-sessions + friction control”
You’re aiming for 3–5 minute sessions that prevent knots from ever becoming mats.
Step 1: The 30-second touch scan (daily)
Do this near the door when you remove the harness/collar:
- •Run fingertips against the grain behind ears and under straps.
- •If your fingers snag, don’t brush the whole body. Isolate the spot.
Step 2: Isolate and detangle in layers (2–3 minutes)
- •Hold the hair at the base (near the skin) to reduce pulling.
- •Work from the ends toward the skin using short, controlled strokes.
- •Stop when the tangle loosens—don’t “polish” the curl with endless brushing.
Tool match: a light slicker can be useful for quick line-by-line work; for cats with curly or wavy coats who tolerate brushing, consider the Coastal Pet Safari - Cat Self-Cleaning Slicker Brush - Cat Grooming Supplies for quick cleanup and easy hair release.


Step 3: Reduce friction at the source (the mat-prevention multiplier)
Concrete adjustments that matter in apartments:
- •Rotate to a smoother harness/collar lining if you see recurring strap mats.
- •Keep one low-friction throw blanket on the couch instead of textured knits.
- •After rain: towel-blot and separate curls with fingers before air-drying.
Tradeoff: You’ll do more tiny sessions, but fewer long “mat emergencies.”
Family home workflow: “Two-phase routine + kid-proof rules”
You need a plan that survives missed weekdays.
Phase 1: Weekday survival (3–6 minutes, 3x/week)
Focus only on:
- •Behind ears
- •Harness/collar lines
- •Armpits
- •Tail base
Use a consistent order every time. Pets relax when they can predict the pattern.
If your pet is sensitive, a flexible brush can reduce the “scratchy” feeling while still separating curls. For smaller pets or tight areas, the Artero Double Flexible Brush (2 in 1) (S - Nature Collection) can be a useful option for gentle passes and controlled detangling.

Phase 2: Weekly deep detangle (15–25 minutes, 1x/week)
This is where you prevent hidden mats.
Technique: line brushing / line working
- •Part the coat so you can see the skin.
- •Work one “line” at a time from ends → roots.
- •Move systematically: legs → belly → chest → shoulders → back → tail.
Kid-proof rule that prevents most mats:
- •No “topcoat only” brushing. If the brush glides on top but the coat near the skin is compacted, mats are forming underneath.
Tradeoff: The weekly session is longer, but it prevents the painful, time-consuming dematting that can lead to shaving.
Multi-pet workflow: “Isolation + shed management + scheduling”
Your goal is to reduce cross-shedding and prevent play-friction mats.
Step 1: Separate grooming zones
Even if space is tight, create a routine:
- •Groom curly-coated pet first (cleaner environment)
- •Then groom heavy shedders
- •Wash or shake out the grooming towel between pets
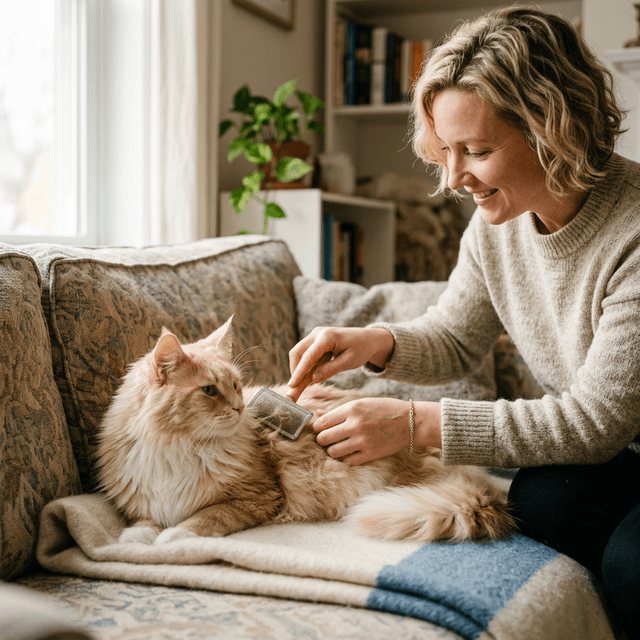
Step 2: Combine detangling with shed control
If your curly-coated pet lives with a heavy shedder, loose hair becomes a mat accelerator.
For cats in multi-cat homes, a de-shedding tool can reduce the amount of loose hair that ends up trapped in curls (used carefully and not daily). The FURminator deShedding Tool For Medium/Large Cats, Short Hair, Removes Loose Hair From Shedding can help manage shedding load—just keep sessions short and avoid overdoing it to prevent skin irritation.

Step 3: Post-play “hotspot check” (2 minutes)
After roughhousing, check:
- •Neck/shoulders
- •Armpits
- •Rump/tail base
You’re catching twist knots before they tighten.
Tradeoff: You’ll do more frequent checks, but your detangling is faster and calmer.
Product picks matched to workload
Tools don’t detangle by themselves—your technique does. But the wrong tool can cause over-brushing, breakage, and a pet who fights grooming.
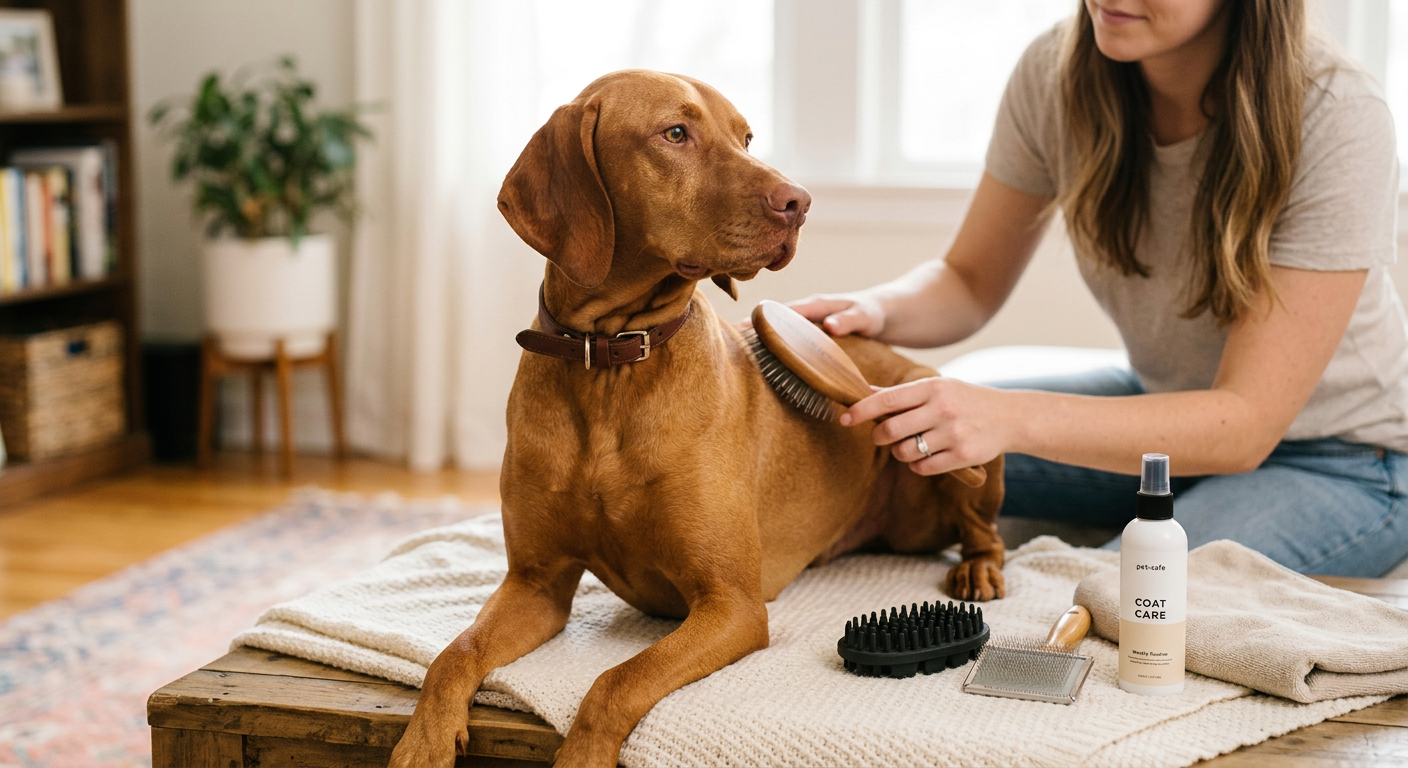
Light workload (mostly maintenance tangles)
- •Flexible brush for gentle separation: The Artero Double Flexible Brush (2 in 1) (S - Nature Collection) suits pets who dislike stiff brushing or owners who do frequent micro-sessions.
- •Slicker for quick spot work (cats): The Coastal Pet Safari - Cat Self-Cleaning Slicker Brush - Cat Grooming Supplies can be a practical pick when you need efficient detangling in small areas and easy hair removal from the brush.
Medium workload (recurring knots, harness friction, seasonal coat changes)
- •Prioritize a tool that can work in layers without scraping the skin.
- •Plan for a weekly deeper session plus quick checks.
If you’re dealing with a double coat in addition to curls/waves, you may need a tool that addresses undercoat compaction without endless brushing.
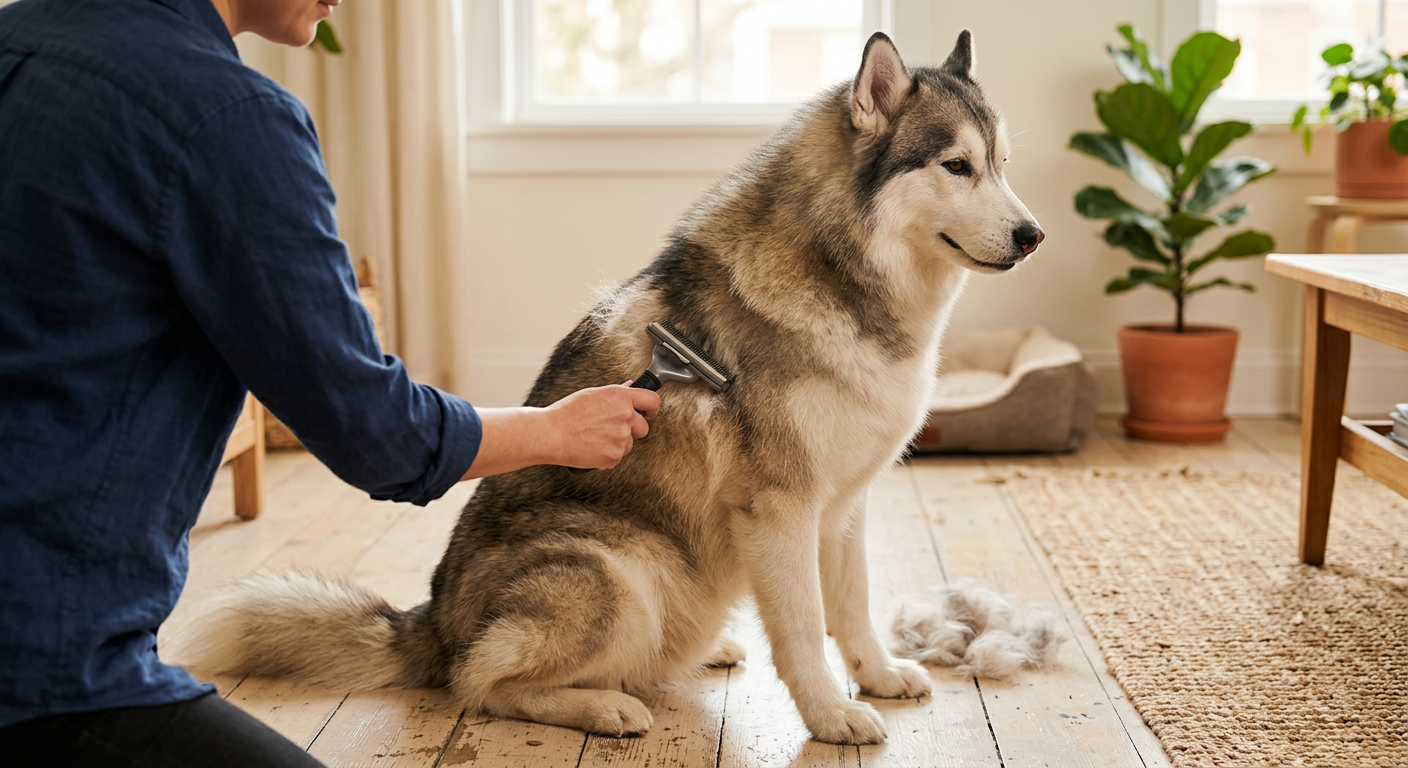
Heavy workload (mats forming, double-coated dogs, thick undercoat)
For dogs with dense coats where shedding and tangles combine into mats, a 2-in-1 tool can help you switch from detangling to undercoat work without changing tools mid-session. The MalsiPree Dog Brush for Shedding - Large, Blue, 2-in-1 - Deshedding Dog Grooming Brush & Undercoat Rake with Dematting Comb for medium to Large Double Coated is designed for that higher workload.

Important tradeoff: Tools marketed for “deshedding” can remove healthy hair if overused. With curly coats, the goal is to reduce trapped loose hair—not thin the coat aggressively.
Time-saving tactics under pressure
When life gets busy, people either skip grooming entirely or over-brush in a panic. Use these tactics instead.
The “2-minute rule” that prevents mat spirals
If you only have two minutes, do this:
- Behind ears
- Under collar/harness
- Armpits
- Tail base
That’s where small tangles become painful mats first.
Detangle smarter: stop when the job is done
Over-brushing happens when you chase a “perfectly smooth” feel.
- •Your finish line is: fingers slide through to the skin in the hotspot, not a fluffy showroom coat.
- •Curly coats can look less “combed” even when they’re detangled. That’s normal.
Pair grooming with a predictable moment
Examples that stick in real life:
- •Apartment: right after harness comes off
- •Family home: during a show or after kids’ bedtime
- •Multi-pet: before dinner, one pet per night
Use micro-rewards strategically
Instead of bribing throughout (which can create stop-start frustration):
- •Do one hotspot completely
- •Reward
- •Move to the next hotspot
What breaks in real life and how to adapt
Even a great curly coat detangling routine will break sometimes. Here’s what usually goes wrong and the adaptation that gets you back on track.
Break #1: “My pet suddenly hates brushing”
Common causes:
- •You hit a tender mat near the skin.
- •Static or dry coat increased pulling.
- •Too many long sessions in a row.
Adaptation:
- •Switch to shorter sessions for a week.
- •Detangle only hotspots.
- •Use hand support at the base of the hair to reduce tug.
If your pet yelps, snaps, or the skin looks red, stop and consider a professional groomer or vet guidance—pain can escalate fast with tight mats.
Break #2: “I missed a week and now there are mats”
Reality check: mats don’t respond well to force.
Adaptation decision criteria:
- •If the mat is small and you can separate it with fingers: work from the outside in, slowly.
- •If the mat is dense and close to skin: don’t keep brushing the same spot. You risk bruising and creating grooming fear.
When in doubt, get professional help. A one-time demat session is often safer than repeated painful attempts at home.
Break #3: “The coat keeps matting in the same place”
That’s a systems problem, not a brushing problem.
Adaptation examples:
- •Recurring neck mats: adjust collar fit, rotate to smoother materials, increase behind-ear checks.
- •Recurring armpit mats: harness rub; check fit and strap placement.
- •Recurring tail-base mats: friction from sitting or play; increase post-play hotspot checks.
Break #4: “Multi-pet chaos makes grooming impossible”
Adaptation:
- •Stagger: one pet per day.
- •Create a ‘grooming towel’ that signals the routine.
- •Close a door; reduce visual triggers.
Weekly review framework
A weekly review keeps you from over-brushing while still preventing mats.
1) Score the week (30 seconds)
Ask:
- •Did I find any tangles that surprised me?
- •Did any hotspot require more than 2 minutes?
- •Did the pet resist more than usual?
If yes, your routine needs an adjustment—not just more brushing.
2) Track “repeat offender” zones
Pick one recurring zone and change one variable:
- •Gear material
- •Session timing
- •Tool choice
- •Frequency of hotspot checks
3) Decide next week’s workload level
- •Low: only hotspot checks + one short full-body pass.
- •Medium: hotspot checks + one full line session.
- •High: professional help or a structured multi-day plan (hotspots one day, body another), especially if mats are forming.
4) Validate with a hands-on test
Your best diagnostic tool is your hand:
- •Can you separate curls down to skin without snagging?
- •Is there compacted underlayer that the brush glides over?
Final execution checklist
Use this as your practical “do it now” guide for curly coat detangling without over-brushing:
- Identify today’s scenario: apartment, family home, or multi-pet.
- Do a fingertip scan of hotspot zones (ears, straps, armpits, tail base).
- Isolate tangles; don’t brush the whole coat as a default.
- Detangle from ends to skin with short strokes and hand support at the base.
- Stop when fingers glide to skin in hotspots—don’t chase a perfectly combed look.
- Reduce mat accelerators: friction (gear/fabric), moisture (drying habits), shed-hair trapping (shed management).
- Match tools to workload and sensitivity:
- •Gentle separation: Artero Double Flexible Brush (2 in 1) (S - Nature Collection)
- •Quick spot work for cats: Coastal Pet Safari - Cat Self-Cleaning Slicker Brush - Cat Grooming Supplies
- •Shed-load reduction in multi-cat homes: FURminator deShedding Tool For Medium/Large Cats, Short Hair, Removes Loose Hair From Shedding
- •Heavy-duty dog coat workload: MalsiPree Dog Brush for Shedding - Large, Blue, 2-in-1 - Deshedding Dog Grooming Brush & Undercoat Rake with Dematting Comb for medium to Large Double Coated
- If mats are tight or close to skin, don’t force it—consider a groomer to avoid pain and skin injury.
When you build your routine around your scenario instead of an unrealistic “daily full brush,” curly coat detangling becomes faster, gentler, and far more consistent—exactly what keeps mats away for the long term.
Coat Care Cluster
More in this topic
guide
Best Dog Brush by Coat Type: Pick the Right Tool Fast
guide
Deshedding Double Coated Dogs: The Ultimate Guide
guide
5 Cat Grooming Tips: Signs Your Cat Needs Better Coat Care
guide
Best Grooming Routine by Coat Type: Short, Double, and Curly Coats (Behavior-First Guide)
guide
De-Shedding Routine for Double-Coat Breeds: A Weekly System That Works
guide
Short-Coat Maintenance Routine: A Fast Weekly Grooming Plan That Actually Cuts Shedding
Frequently asked questions
How often should I do curly coat detangling without causing over-brushing?
Most curly-coated pets do best with short hotspot checks (1–5 minutes) several times per week, plus a deeper line-by-line session about once weekly. Over-brushing shows up as frizz, breakage, irritated skin, or a pet that becomes brush-avoidant. If your fingers glide to the skin in the high-risk zones (behind ears, under straps, armpits, tail base), you can stop—more brushing rarely adds benefit.
My pet’s coat looks smooth on top, but mats keep forming. Why?
Curly and wavy coats can hide compaction near the skin. A brush may glide over the topcoat while shed hair and friction tighten the underlayer into mats. This is common in family homes where quick brushing happens on weekends or when kids brush “the fluffy part.” Use a line-brushing approach during your weekly session: part the coat so you can see the skin and work in layers from ends to roots.
When should I stop trying to detangle at home and call a groomer?
If a mat is dense, close to the skin, causes your pet to flinch/yelp, or the skin looks red, stop. Forcing dematting can bruise skin, create grooming fear, and worsen the problem. A professional groomer can remove mats safely and advise on a maintenance schedule. After a reset, keep mats from returning by focusing on friction points (collar/harness areas, armpits) with brief, consistent hotspot checks.
