

guide • Coat Care
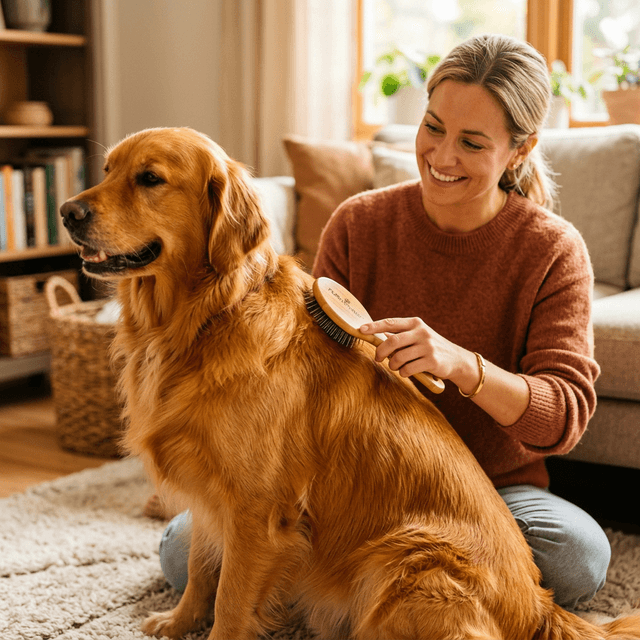
Best Brush Sequence for Long-Hair Dogs: Pre-Brushing to Finish (No Mats, Less Shedding)
A diagnostic, step-by-step long hair dog brushing sequence that prevents mats, reduces shedding, and tells you exactly when to switch tools or call a groomer.
By Lucy Anderson • February 19, 2026 • 7 min read
Table of contents
- Core problem and hidden bottlenecks
- The core problem
- Hidden bottlenecks that sabotage the session
- Reality check: what most owners misread
- “It looks brushed” is not the same as “it’s line-brushed”
- “My dog hates brushing” usually means pain, not attitude
- “Slicker brush = universal” is a myth
- Practical setup and baseline metrics
- Your baseline metrics (track for 2 weeks)
- Environment and handling (small changes that matter)
- Tool roles (so your sequence stays clean)
- Step-by-step operating workflow
- Step 1: Pre-brushing diagnosis (2 minutes)
- Step 2: Sectioning and line-brushing (the actual detangling step)
- Step 3: Targeted de-matting decision (only if needed)
- Step 4: Undercoat removal (double coats and seasonal sheds)
- Step 5: Finish pass (polish + missed-tangle audit)
- Step 6: Post-session skin check (30 seconds)
- Decision table: when to keep, switch, or escalate
- Failure modes and fixes
- Failure mode 1: “I brushed, then I bathed, now it’s worse”
- Failure mode 2: Slicker scratches and your dog starts avoiding you
- Failure mode 3: De-shedding tool creates bald-ish patches or fuzz
- Failure mode 4: You can’t keep up with mats in friction zones
- Weekly optimization playbook
- Week structure (most homes)
- Adjust by coat type
- The “2-zone rule” for busy weeks
- Progress markers
- Final action checklist
Long coats are rarely “high maintenance” because they’re long. They’re high maintenance because the order of your steps decides whether you glide through the coat or accidentally tighten tangles into mats.
This guide gives you a diagnostic-first long hair dog brushing sequence: what to check first, what to do next, and the exact thresholds that tell you when to keep going, change tools, or stop and escalate.
Core problem and hidden bottlenecks
Most brushing failures happen in the first 90 seconds—before the brush even touches the coat.
The core problem
Long hair forms two kinds of resistance:
- •Surface resistance: fluffy topcoat that looks brushed but hides compacted undercoat.
- •Root resistance: knots that sit at the skin line (common behind ears, armpits, collar line, and the base of the tail). These are what turn into painful mats.
If you start with the wrong tool or too much pressure, you compress loose undercoat and twist small tangles tighter. That’s why “I brushed yesterday” and “there’s a mat today” can both be true.
Hidden bottlenecks that sabotage the session
Use these as your first diagnostic checks:
1) Static + dryness
- •If the coat crackles, clings, or frizzes when you separate it, you’ll create more tangles by brushing aggressively.
- •Threshold: if you can lift hair and it stays “floating” or sticks to your hand, slow down and reduce friction (lighter pressure, smaller sections).
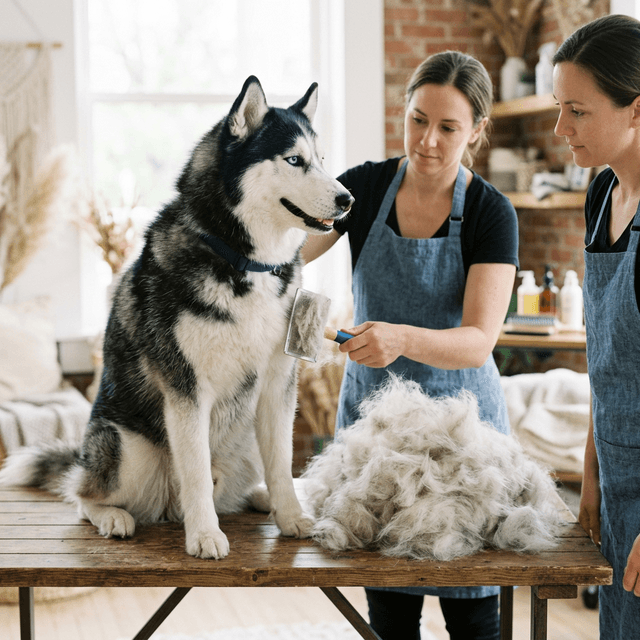
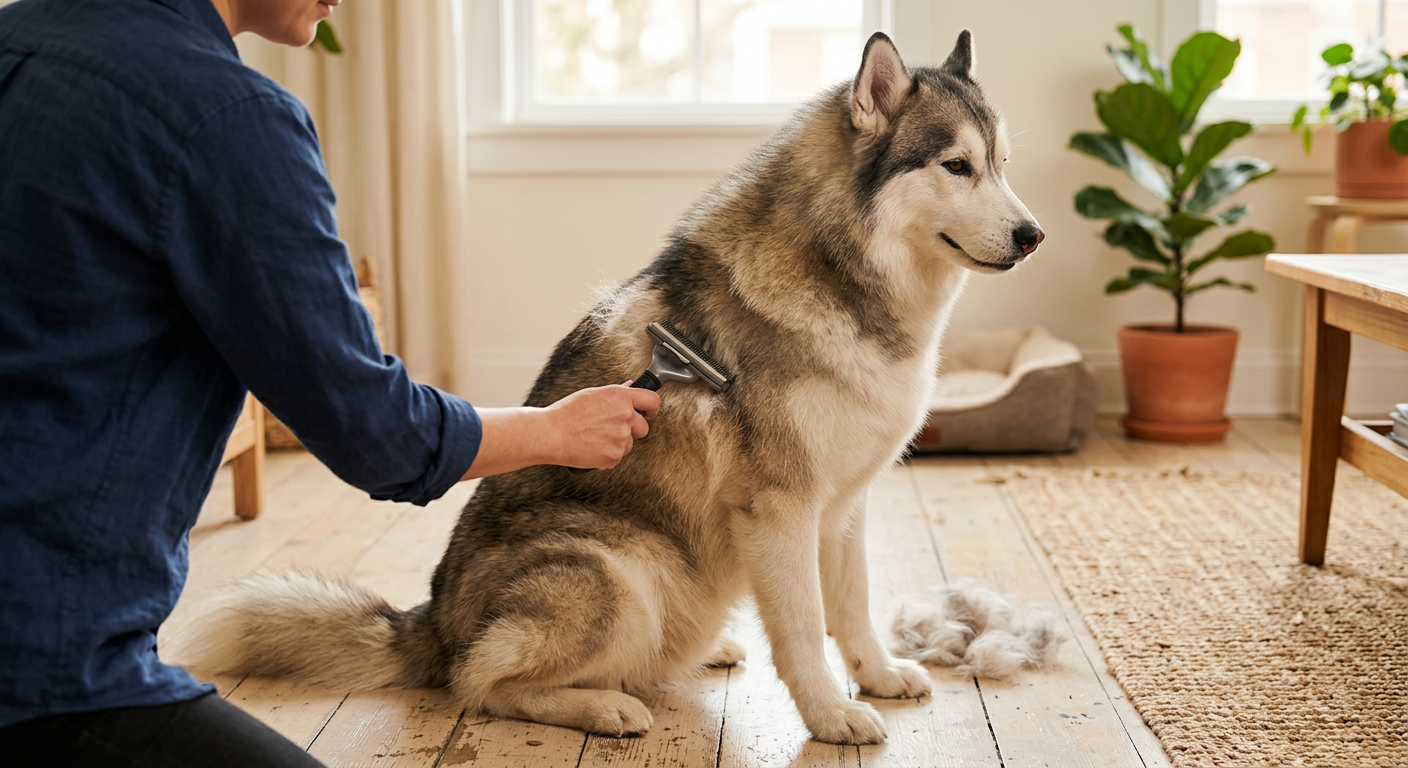
2) Undercoat compaction (double-coated long hair like Golden Retrievers, Shelties)
- •The coat looks tidy but feels thick and springy near the skin.
- •Threshold: if your brush rides on top and doesn’t reach the skin in 2–3 passes, you’re not actually detangling.
3) Hot spots: friction zones
- •Collar/harness line, behind ears, “pants”/inner thighs, belly, tail base.
- •Threshold: if your dog flinches, turns to look, or shifts away repeatedly when you touch these zones, assume tight tangles at the skin and switch to smaller sections.
4) Tool mismatch
- •A slicker used like a rake can scratch.
- •A de-shedding tool used on a matted coat can rip.
The goal is simple: separate first, remove loose hair second, polish last—in that order.
Reality check: what most owners misread
“It looks brushed” is not the same as “it’s line-brushed”
Owners often stop when the coat looks smooth. But long hair can hide a felted layer underneath.
Reality test (30 seconds):
- •Part the coat with your fingers to see skin in three spots: behind the ear, armpit, and hip.
- •If you can’t see skin without force, you likely have compacted undercoat or early matting.
“My dog hates brushing” usually means pain, not attitude
Long hair dogs tolerate gentle brushing when it doesn’t pinch.
Behavior thresholds that suggest discomfort:
- •Lip lick + head turn + paw lift in the same minute
- •Sudden sitting/lying down when you reach a certain area
- •Flinching at the first stroke (not after a long session)
If you see these, don’t “push through.” Change the sequence: smaller sections, lighter pressure, and address tangles before you try to de-shed.
“Slicker brush = universal” is a myth
Slickers are great, but only when you use them as a finishing detangler rather than a “plow.” For small, sensitive zones (like ears on toy breeds), a compact slicker can give control.
Example: a small, self-cleaning slicker like the [Coastal Pet Safari
- •Cat Self-Cleaning Slicker Brush
- •Cat Grooming Supplies](/product/coastal-pet-safari-cat-self-cleaning-slicker-brush-cat-grooming-supplies-b000yiwuxi) is marketed for cats, but the size can be useful for dogs’ behind-the-ear work where big slickers snag.


Practical setup and baseline metrics
This is where you stop guessing and start measuring. You don’t need fancy tools—just consistent checks.
Your baseline metrics (track for 2 weeks)
- **Tangle density score (0–
- per zone**
- •0 = fingers glide to the skin
- •1 = minor snag, separates in <10 seconds
- •2 = knot at skin line, needs sectioning and tool change
- •3 = mat plate (felted), do not brush aggressively
Zones: behind ears, collar line, armpits, belly, inner thighs, tail base.
2) Time-to-skin (TTS)
- •Pick one hot spot (usually behind the ear).
- •Measure how long it takes to part hair and brush to the skin without snagging.
- •Threshold goal: TTS under 60 seconds on problem zones by week 2.
3) Loose hair output
- •Note whether loose hair comes off as “dust,” small tufts, or thick clumps.
- •Thick clumps + springy coat often means undercoat compaction.
Environment and handling (small changes that matter)
- •Brush on a non-slip surface so your dog doesn’t brace and tense.
- •Keep sessions short: 5–12 minutes beats one 45-minute wrestling match.
- •Use a “touch-and-release” pattern on sensitive zones: touch the brush, release, reward calm.
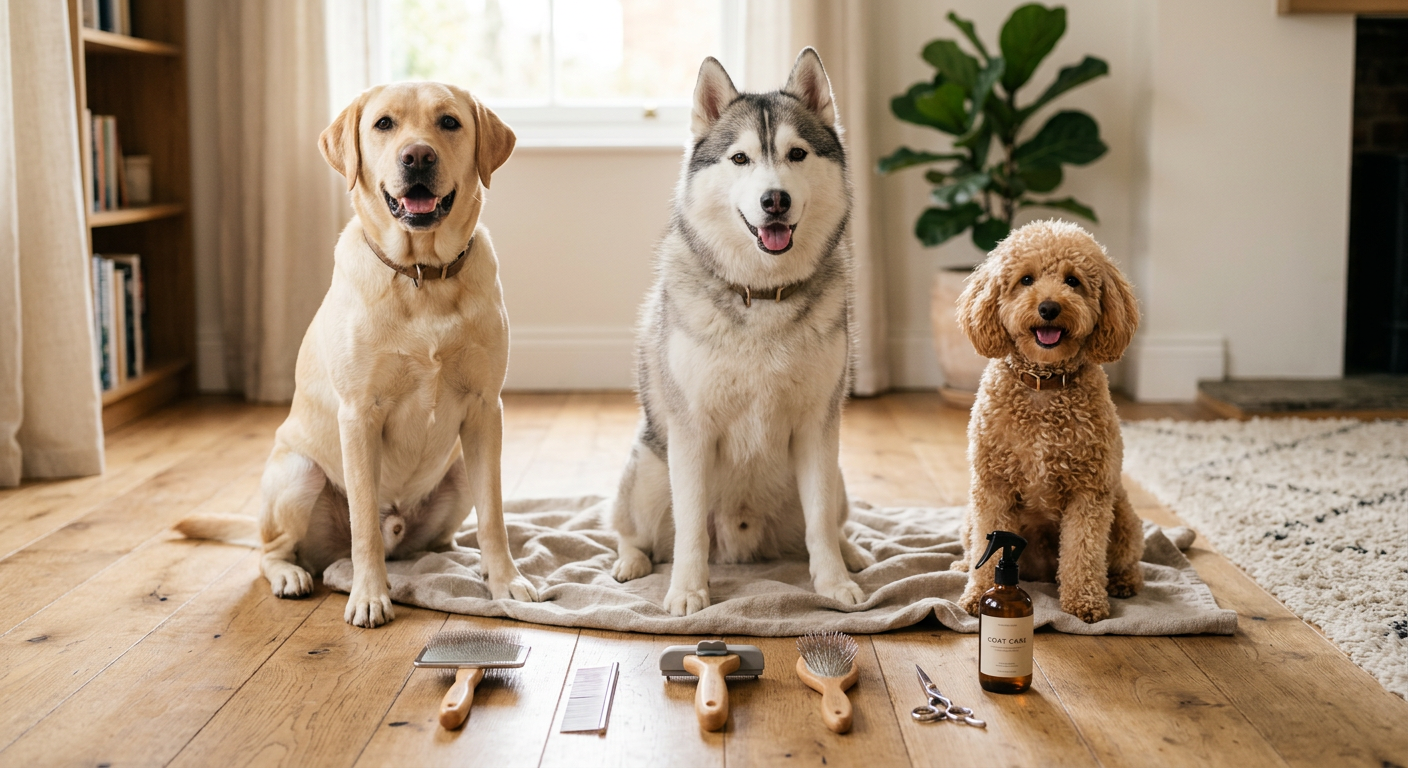
Tool roles (so your sequence stays clean)
You don’t need every gadget, but you do need distinct roles:
- •Sectioning/controlled detangling: a flexible pin brush helps you reach the skin gently.
- •Undercoat removal (double coats): an undercoat rake or de-shedding tool used only after tangles are cleared.
- •Finishing: slicker/soft brush to smooth and catch leftovers.
A versatile option for controlled brushing on long coats is a flexible brush like the Artero Double Flexible Brush (2 in 1) (S - Nature Collection), which helps you adjust pressure and reach different coat densities without “digging.”

For heavy undercoat periods, a combo tool like the MalsiPree Dog Brush for Shedding - Large, Blue, 2-in-1 - Deshedding Dog Grooming Brush & Undercoat Rake with Dematting Comb for medium to Large Double Coated can work well—but only after you’ve separated tangles.

Step-by-step operating workflow
This is the long hair dog brushing sequence from pre-brushing to finish. Follow it in order; the order is the “secret.”
Step 1: Pre-brushing diagnosis (2 minutes)
- •Use your fingers like a comb.
- •Check behind ears, armpits, collar line, tail base.
- •If you find a 2 or 3 tangle density score, plan to brush in micro-sections.
Concrete rule: If fingers can’t reach skin, do not start with a de-shedding tool.
Step 2: Sectioning and line-brushing (the actual detangling step)
Goal: brush to the skin in thin layers without yanking.
How:
- Start at the lowest point (rear leg “pants” or belly edge).
- Lift a thin layer of coat with your free hand.
- Brush the exposed hair from skin outward using short strokes.
- Move up one layer at a time.
Pressure threshold:
- •If your dog’s skin moves with the brush, you’re using too much pressure.
- •If the brush stalls, reduce section size by half.
Tool choice:
- •Use a flexible brush (like the Artero Double Flexible Brush (2 in 1) (S - Nature Collection)) for most of this step.
- •For tiny zones (ear fringes, face edges), a compact slicker such as the Coastal Pet Safari - Cat Self-Cleaning Slicker Brush - Cat Grooming Supplies can offer control—use feather-light strokes.
Step 3: Targeted de-matting decision (only if needed)
If you hit a knot:
- •Hold hair above the knot (closer to the skin) to prevent pulling.
- •Work the very ends first, then creep toward the base.
Stop threshold (do not force):
- •If the knot doesn’t noticeably loosen after 60–90 seconds of careful work, it’s a “time sink” that often becomes painful. Mark it mentally and consider professional help.
Step 4: Undercoat removal (double coats and seasonal sheds)
Only after Step 2 is complete (you can line-brush to skin).
- •Use an undercoat rake/de-shed side (for example, the undercoat rake component on the MalsiPree Dog Brush for Shedding - Large, Blue, 2-in-1 - Deshedding Dog Grooming Brush & Undercoat Rake with Dematting Comb for medium to Large Double Coated).
- •Work with the grain, long strokes, low pressure.
- •Do 3–5 passes per section, then reassess. More is not always better.
Overuse threshold:
- •If you see coat thinning, fuzziness, or your dog’s skin gets pink, stop. You’re removing more than loose undercoat.
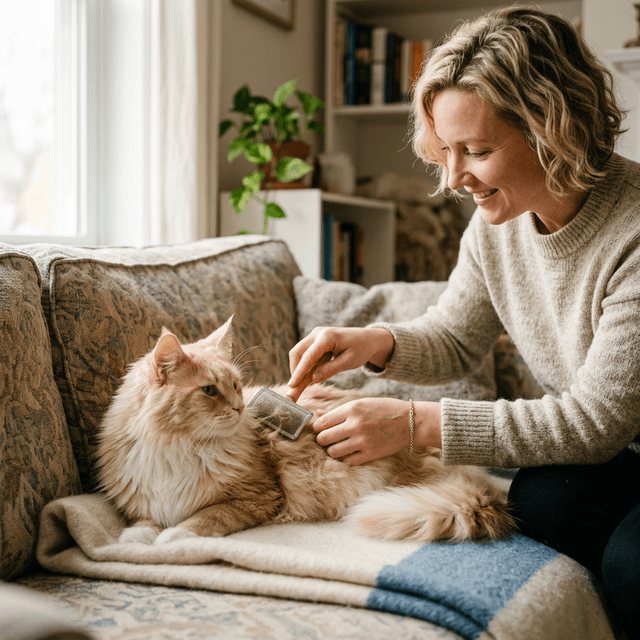
Note: You’ll see de-shedding tools marketed for cats (like the FURminator deShedding Tool For Medium/Large Cats, Short Hair, Removes Loose Hair From Shedding). Even when a tool is popular, match the tool to the species/coat type and follow brand guidance—dog coats (especially long coats) can be easier to damage if you de-shed too aggressively.

Step 5: Finish pass (polish + missed-tangle audit)
This is where you make the coat look good and confirm you didn’t skip problem zones.
- •Use a slicker or flexible brush with light pressure.
- •Re-check hot spots with a finger part.
- •If the brush catches, go back to Step 2 for that micro-section.
Step 6: Post-session skin check (30 seconds)
You’re looking for friction signs:
- •Pink lines, warmth, or your dog licking a spot right after brushing.
- •If present, shorten next session and reduce pressure; consider splitting grooming into two mini-sessions 6–8 hours apart.
Decision table: when to keep, switch, or escalate
Use this table mid-session. It prevents the common mistake: working harder when you should be working differently.
| What you notice | Likely cause | Keep going with current step? | Switch to | Escalate when |
|---|---|---|---|---|
| Brush glides but coat still feels thick at roots | Compacted undercoat | Yes, but only after confirming line-brush to skin | Undercoat rake/de-shed (e.g., MalsiPree Dog Brush for Shedding - Large, Blue, 2-in-1 - Deshedding Dog Grooming Brush & Undercoat Rake with Dematting Comb for medium to Large Double Coated) | If skin pinks or coat thins |
| Brush keeps snagging in same 2-inch spot | Root tangle or early mat | No | Smaller sections + controlled brush (e.g., Artero Double Flexible Brush (2 in 1) (S - Nature Collection)) | If no progress in 60–90 sec |
| Dog flinches on armpit/belly | Skin-line knots + sensitivity | No | Micro-sections; compact slicker for control (e.g., Coastal Pet Safari - Cat Self-Cleaning Slicker Brush - Cat Grooming Supplies) | If dog yelps, snaps, or area is red |
| You get “powder” shedding but coat looks dull | Dry coat/static | Yes, but reduce friction | Lighter pressure, fewer passes; finish gently | If dandruff/itching persists >1 week |
| Mat feels like a firm plate near skin | True matting | No | Stop brushing that area | Professional groomer; vet if skin is irritated or damp |
Failure modes and fixes
Failure mode 1: “I brushed, then I bathed, now it’s worse”
Cause: water tightens tangles and mats.
Fix: always detangle first (Step 2), then bathe. If you must bathe a tangled coat (mud emergency), rinse gently and do not rub—press water out with towels.
Failure mode 2: Slicker scratches and your dog starts avoiding you
Cause: too much pressure, too many passes on one spot, or brushing on a tight knot.
Fix:
- •Reduce section size.
- •Swap to a more flexible brush to control pressure (e.g., Artero Double Flexible Brush (2 in 1) (S - Nature Collection)).
- •Use a compact slicker only for precision zones (e.g., Coastal Pet Safari - Cat Self-Cleaning Slicker Brush - Cat Grooming Supplies), not whole-body “raking.”
Failure mode 3: De-shedding tool creates bald-ish patches or fuzz
Cause: overuse or using it before tangles are cleared.
Fix:
- •Return to line-brushing first.
- •Limit de-shed passes per section (3–5), then reassess.
- •If your dog is a single-coated long-hair (e.g., many Poodles mixes, Maltese-type coats), focus on detangling and finishing rather than aggressive de-shedding.
Failure mode 4: You can’t keep up with mats in friction zones
Cause: harness/collar friction + moisture + missed line-brushing.
Fix:
- •Brush those zones in micro-sessions: 2 minutes daily.
- •Rotate harness position when possible; check fit.
- •Prioritize behind ears and armpits over the “easy” back.
Weekly optimization playbook
This is how you make the sequence faster over time.
Week structure (most homes)
- •2–4 mini-sessions (5–8 minutes): hot spots only (ears, armpits, collar line, tail base)
- •1 full session (12–20 minutes): full-body line-brush + undercoat removal if needed
Adjust by coat type
Double-coated long hair (Golden, Collie, Sheltie):
- •Emphasize Step 4 during shed seasons, but only after Step 2 is clean.
- •If you’re pulling clumps every day, you may be stuck in “undercoat compaction.” Increase line-brushing time, not de-shed pressure.
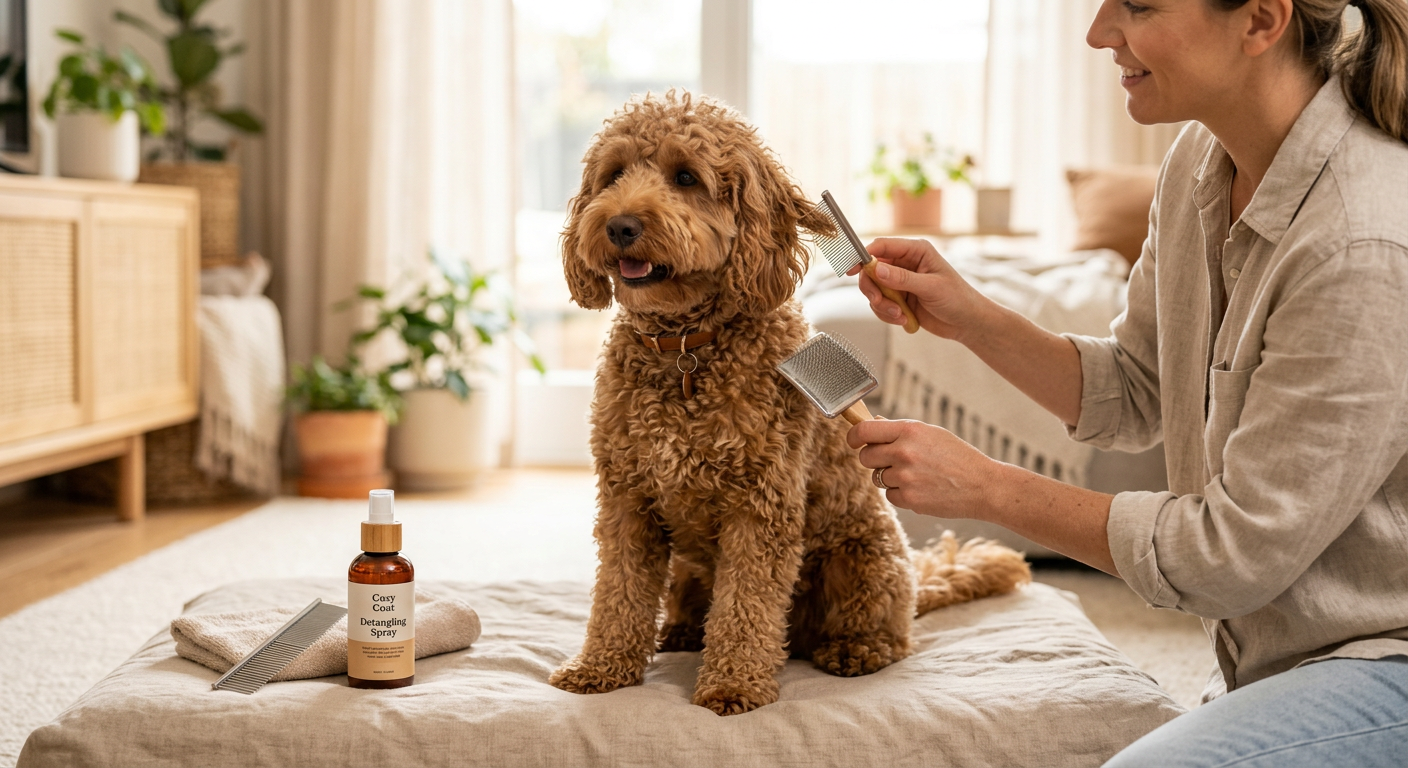
Single-coated long hair (Yorkie-type, Maltese-type, many doodles):
- •Step 2 is the main event. Step 4 is often minimal.
- •If mats keep forming, shorten interval between hot-spot sessions rather than brushing harder.
The “2-zone rule” for busy weeks
If you’re overwhelmed, don’t skip everything. Do two zones every other day:
- •Day A: behind ears + collar line
- •Day B: armpits + tail base
This alone prevents most painful mats.
Progress markers
You’re improving if:
- •TTS drops under 60 seconds on your worst zone
- •You need fewer tool changes mid-session
- •Your dog relaxes earlier in the routine (less shifting, fewer “check-ins”)
Final action checklist
- •Diagnose first: finger-part behind ears, armpits, collar line, tail base; score tangles 0–3.
- •Line-brush in thin layers until you can reach skin without snagging.
- •Treat knots as a decision point: if no progress in 60–90 seconds, stop forcing and reassess.
- •De-shed only after detangling; cap passes per section to avoid coat damage.
- •Finish with a light polish pass, then re-check hot spots to confirm nothing was skipped.
- •Run 2–4 short hot-spot sessions weekly; one full-body session for maintenance.
If you follow this long hair dog brushing sequence consistently, brushing stops being a battle and turns into a predictable routine: separate, remove, finish—without creating the very tangles you’re trying to prevent.
Coat Care Cluster
More in this topic
guide
Best Dog Brush by Coat Type: Pick the Right Tool Fast
guide
Deshedding Double Coated Dogs: The Ultimate Guide
guide
5 Cat Grooming Tips: Signs Your Cat Needs Better Coat Care
guide
Best Grooming Routine by Coat Type: Short, Double, and Curly Coats (Behavior-First Guide)
guide
De-Shedding Routine for Double-Coat Breeds: A Weekly System That Works
guide
Curly Coat Detangling Routine: Prevent Mats Without Over-Brushing
Frequently asked questions
How often should I follow a long hair dog brushing sequence?
Most long-hair dogs do best with 2–4 short hot-spot sessions per week (5–8 minutes) plus one longer full-body session (12–20 minutes). If your dog wears a harness daily or swims often, shift toward brief daily hot-spot brushing behind ears, armpits, and the collar/harness line to prevent skin-line knots from turning into mats.
What’s the biggest sign I’m brushing the topcoat but missing mats underneath?
If the coat looks smooth but you can’t easily part it to see skin—especially behind the ears or in the armpit—you’re likely missing compacted undercoat or early matting at the roots. Another red flag is when your brush glides on the surface yet catches abruptly in the same small area; that’s often a skin-line knot that needs micro-sections and line-brushing, not more pressure.
When should I stop brushing and call a groomer or vet?
Escalate if you find a firm, felted mat plate close to the skin, if a knot doesn’t loosen after 60–90 seconds of careful work, or if your dog yelps/snaps or the skin becomes red and warm. Call a vet promptly if you notice dampness, odor, sores, or your dog obsessively licking an area after brushing—those can indicate skin irritation, hot spots, or infection under mats.
